Inkylicious splatter dancing lady
First of all I’d like to start by wishing everyone a very happy new year.
It’s been a while since I’ve done much crafting - at the beginning of November I managed to slip on the wet pavement and brake my leg. As you can imagine it wasn’t pleasant and unfortunately I wasn’t able to do much crafting as I couldn’t sit at my desk. I now have the cast off and got lots of new goodies for Christmas that I’ve been itching to play with.
Today I had a play around with the new inkylicious splatter stamp.

I started off by cutting a piece of square card approx 14cm square.
Place your splatter circle onto your stamping block and using the pickled raspberry Tim Holtz distress ink pad randomly apply the ink.

I then randomly applied broken china and wilted violet.
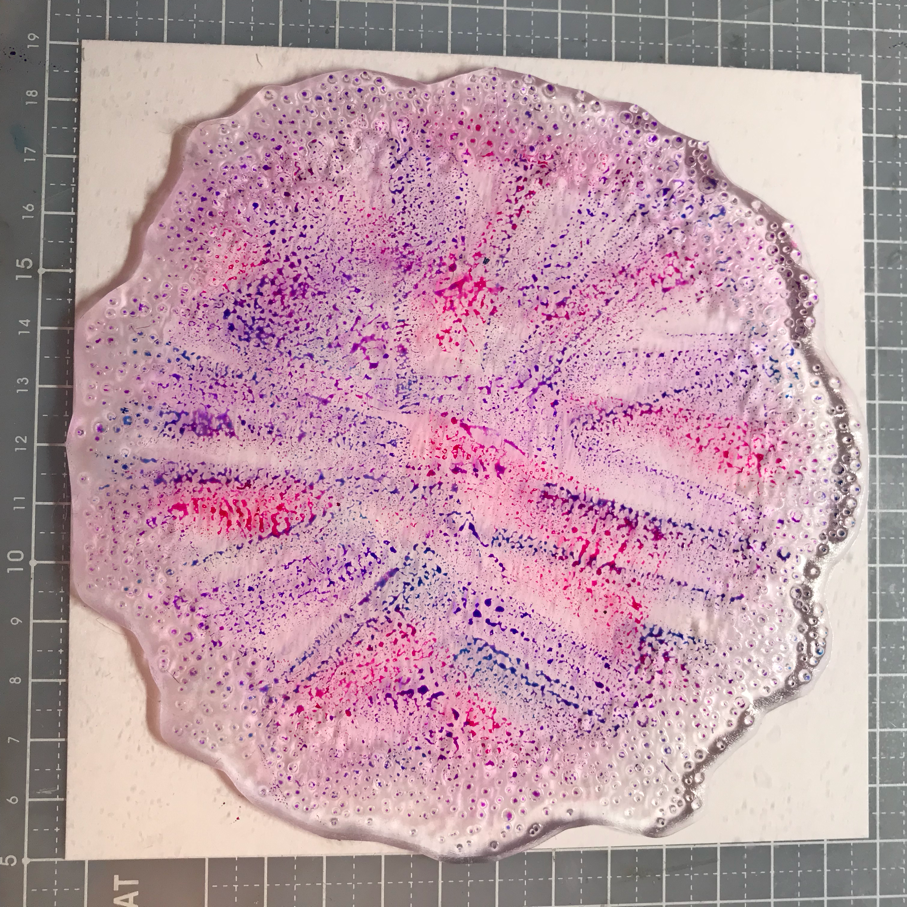
Using I fine mist spray - spritz the ink. Don’t get it too wet though!
Stamp the splatter onto your pre cut square card. It will look a little scary seeing all the ink move about when you apply pressure but this is what gives it a galaxy style look.

Carefully pull the stamp back and dab off any clumps of ink you may have with a piece of kitchen roll (DO NOT drag it across your design)
To speed up the drying process I used my heat gun to dry the image.

Next I used one of the dancing ladies from the inkylicious ‘dance’ set. I stamped this with black versafine ink and then heat embossed it with clear ultra fine embossing powder.

Using my crafts too corner punch I cut the design into the corners.
Take a piece of purple card and cut it just a bit bigger than your main piece to create a nice dark border.
For the next step I used a small off cut of white card and stamped the sentiment from the crafters companion flutterby set. Cut it as close to the sentiment as possible then mount on purple card.

Now it’s time to stick it all down.
I normally use the pre-scored 6x6 cards. Fold along the scored line then stick your mounted splatter image in the centre so you have a nice even plain border around the edge.
Stick the sentiment down - for this I used foam pads to give it a slightly raised affect.
Now finish off with some diamontes.
Shopping list
Inkylicious- splatter stamp
Inkylicious- Dance set
Crafters companion- flutterby set
White card
Purple card
6x6 card blank
Tim Holtz distress ink
Black versafine ink pad
Wow ultra fine embossing powder
Cosmic shimmer glue
Foam pads
Xcut paper trimmer
Diamontes