Hi Everyone
Hope you’re all keeping safe and well!!
As I seem to have some extra time on my hands thought I’d try create some blog posts.
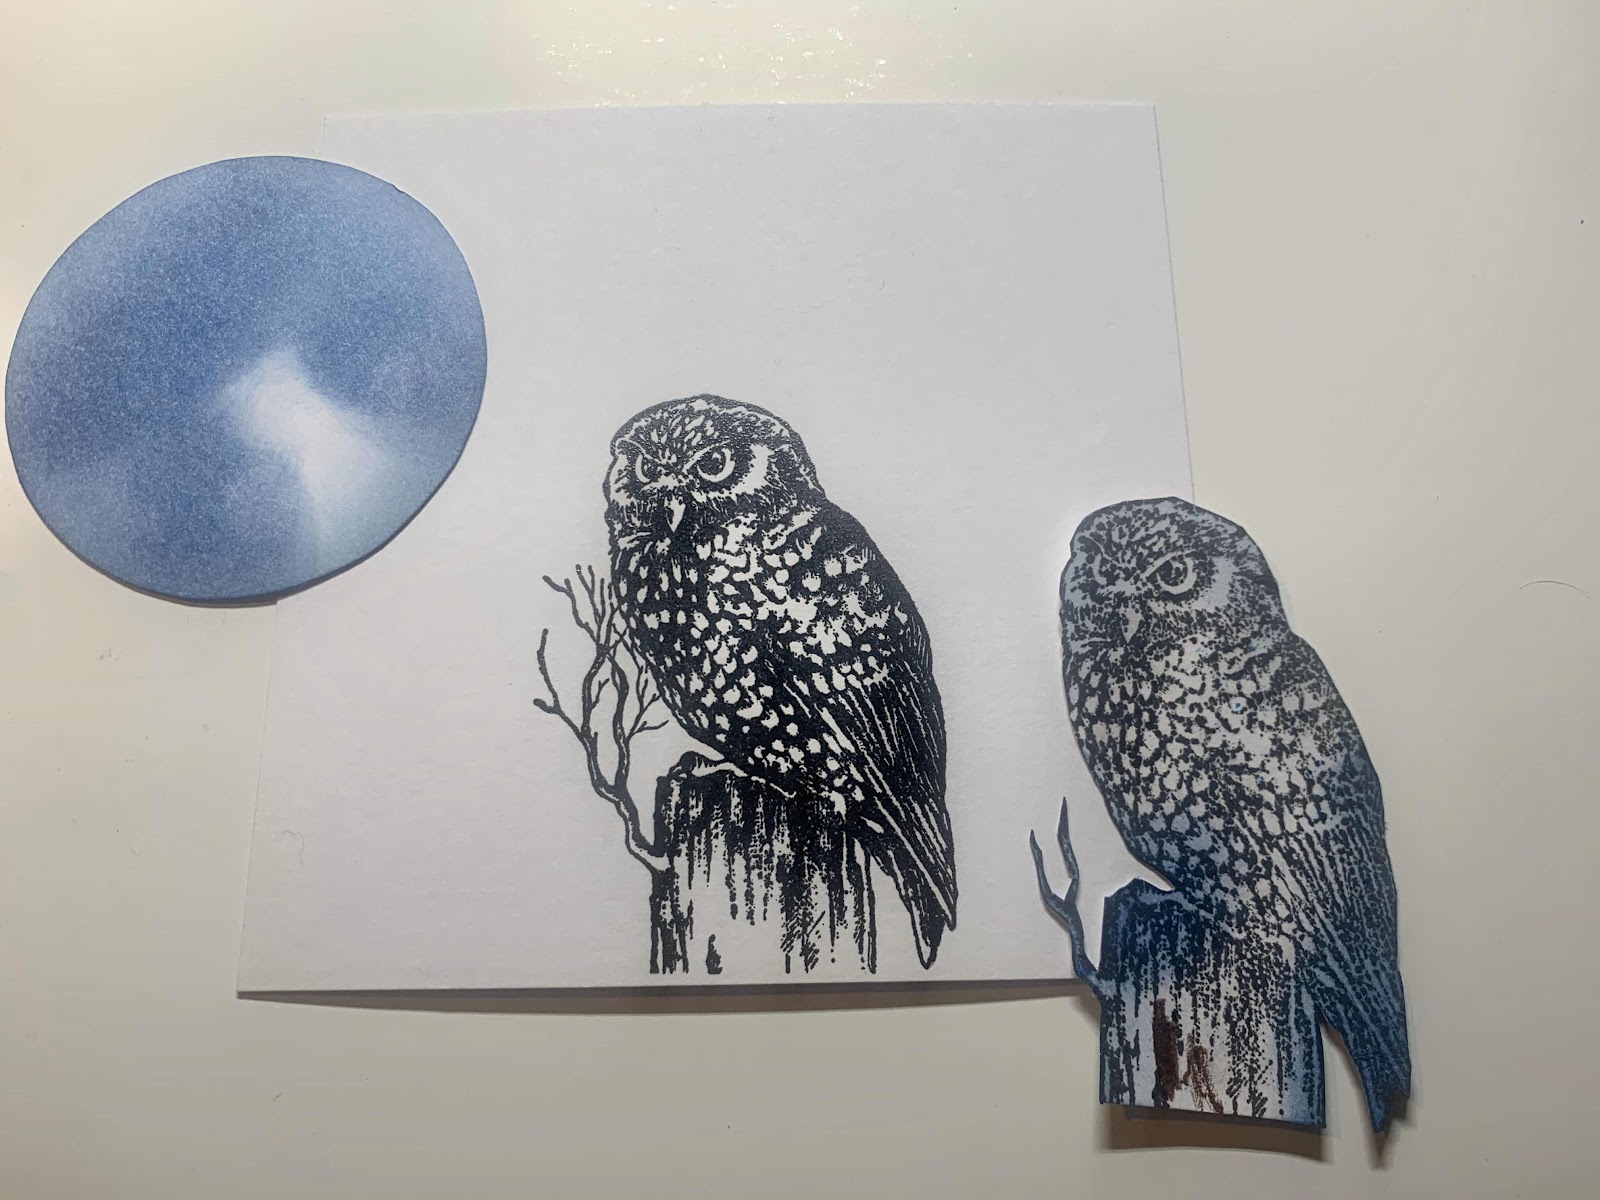
I started off by stamping and embossing the owl in the centre of a piece of card measuring approximately 14cm square so it’ll fit onto a 6x6 card.
You will also need to stamp out another owl on some scrap card and cut it out - this is to mask your owl while you create your inky background. You’ll also need a largish circle for the moon.
Place your owl mask over the stamped image and lightly ink a blue background. For this I used Tim Holtz distress inks.
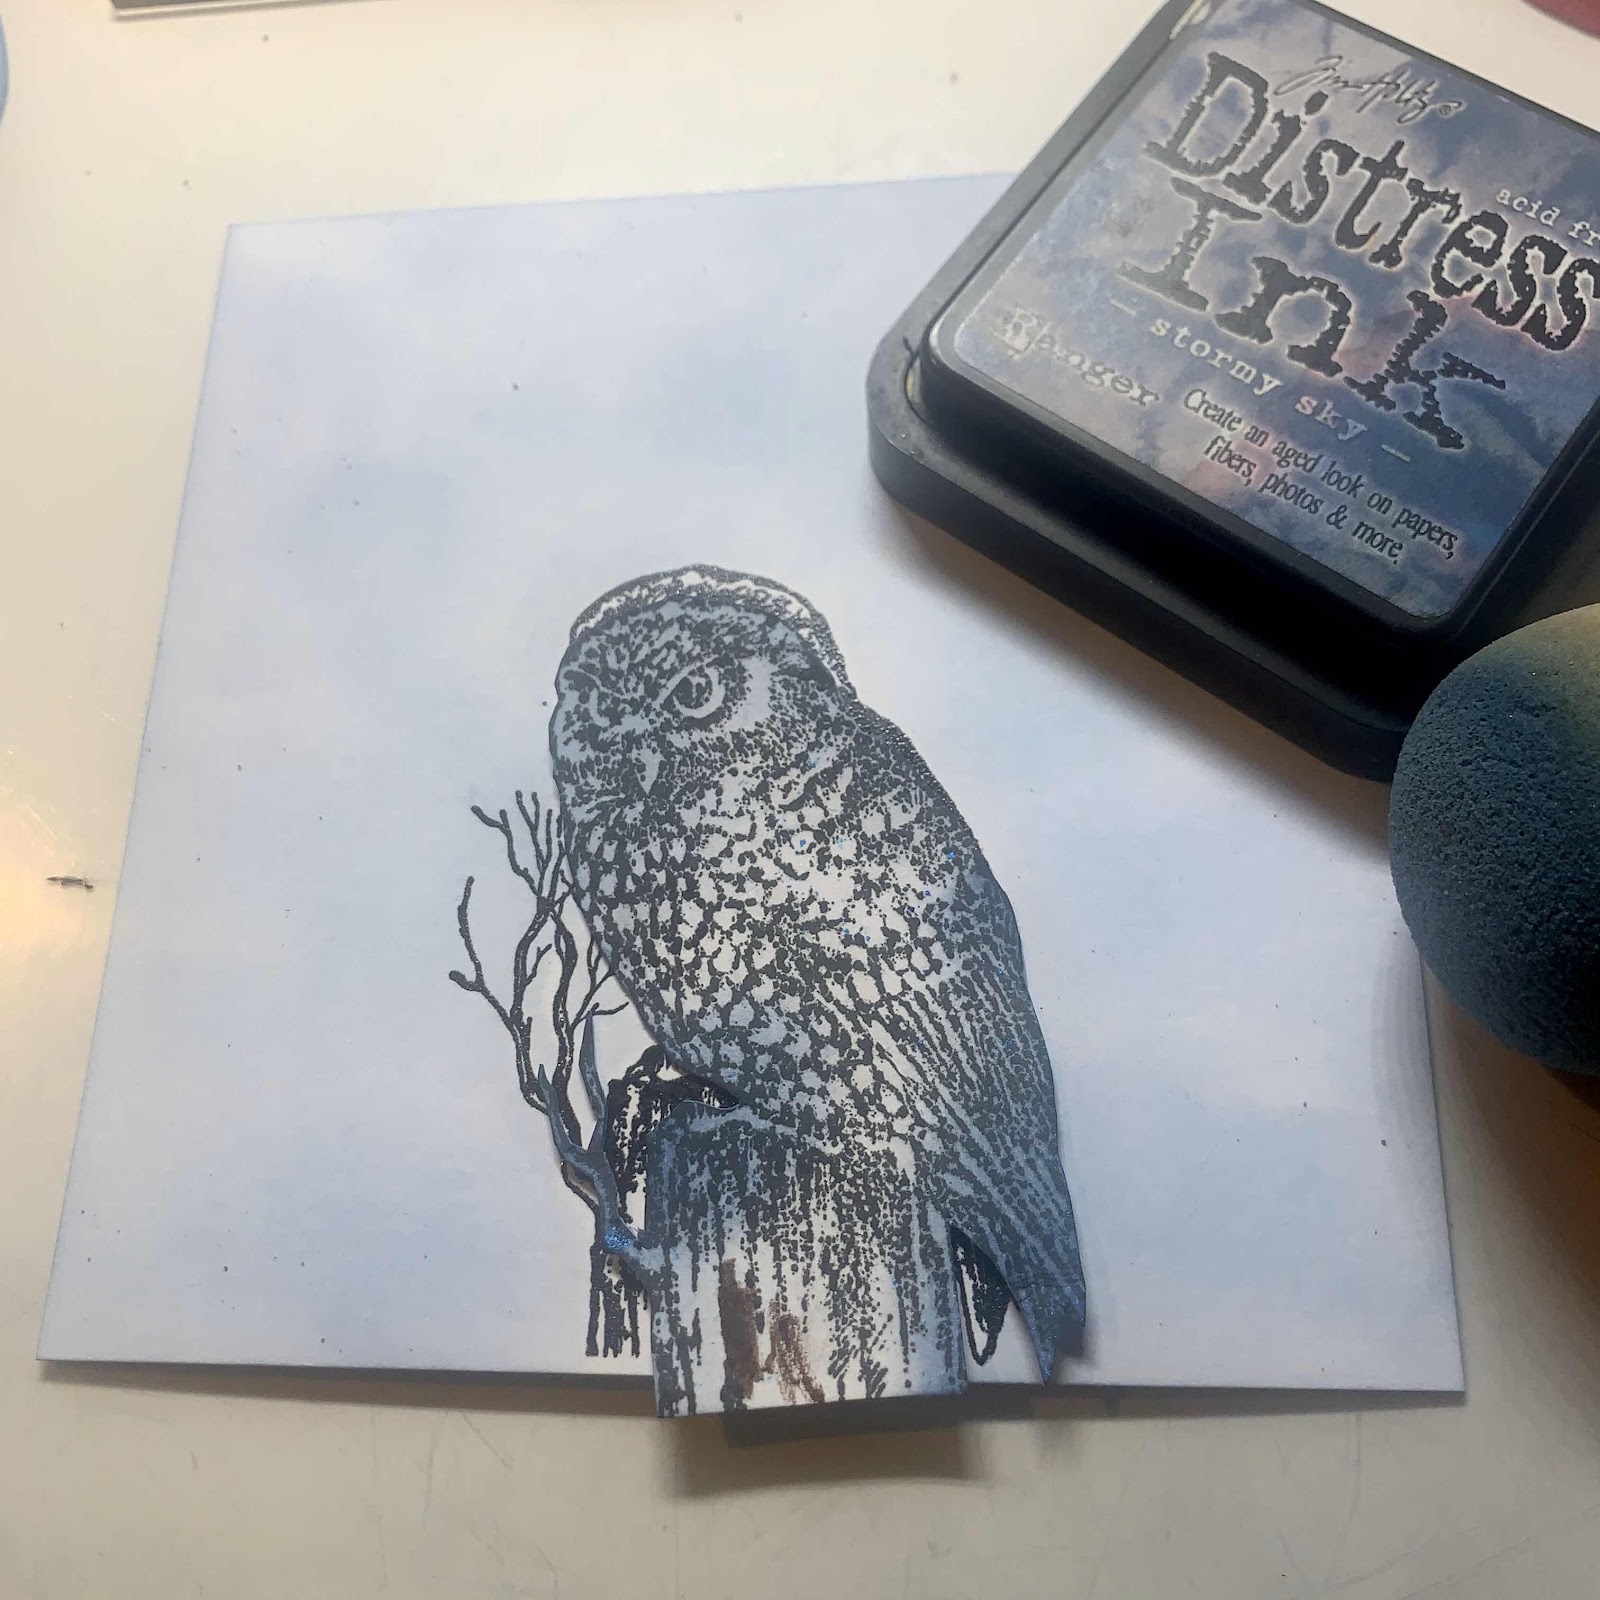
Now with your owl mask still in place position the moon in the centre of the card. Using the same colour apply slightly more ink to darken the blue sky.
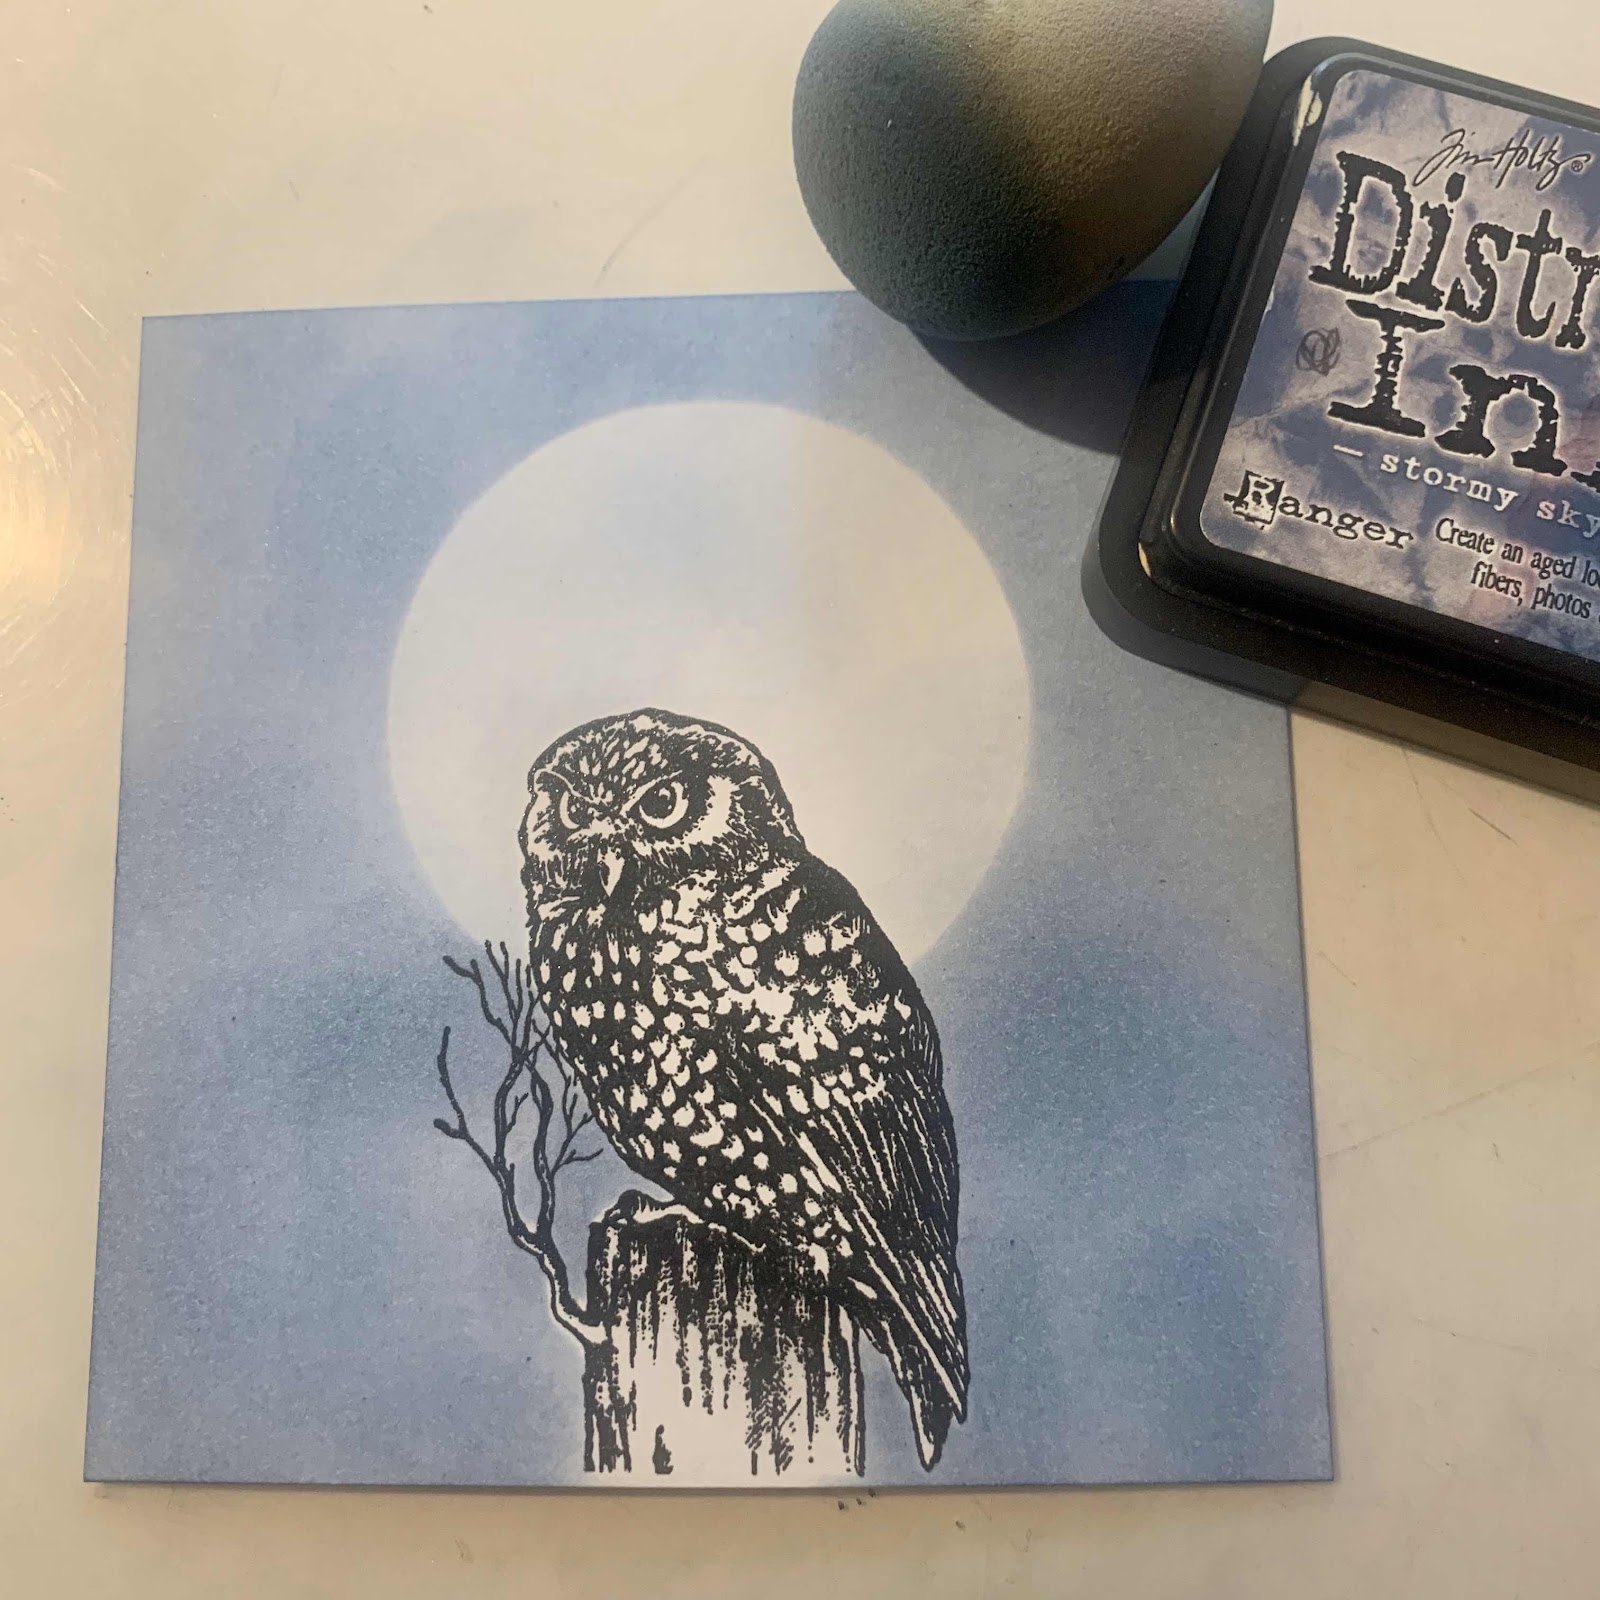
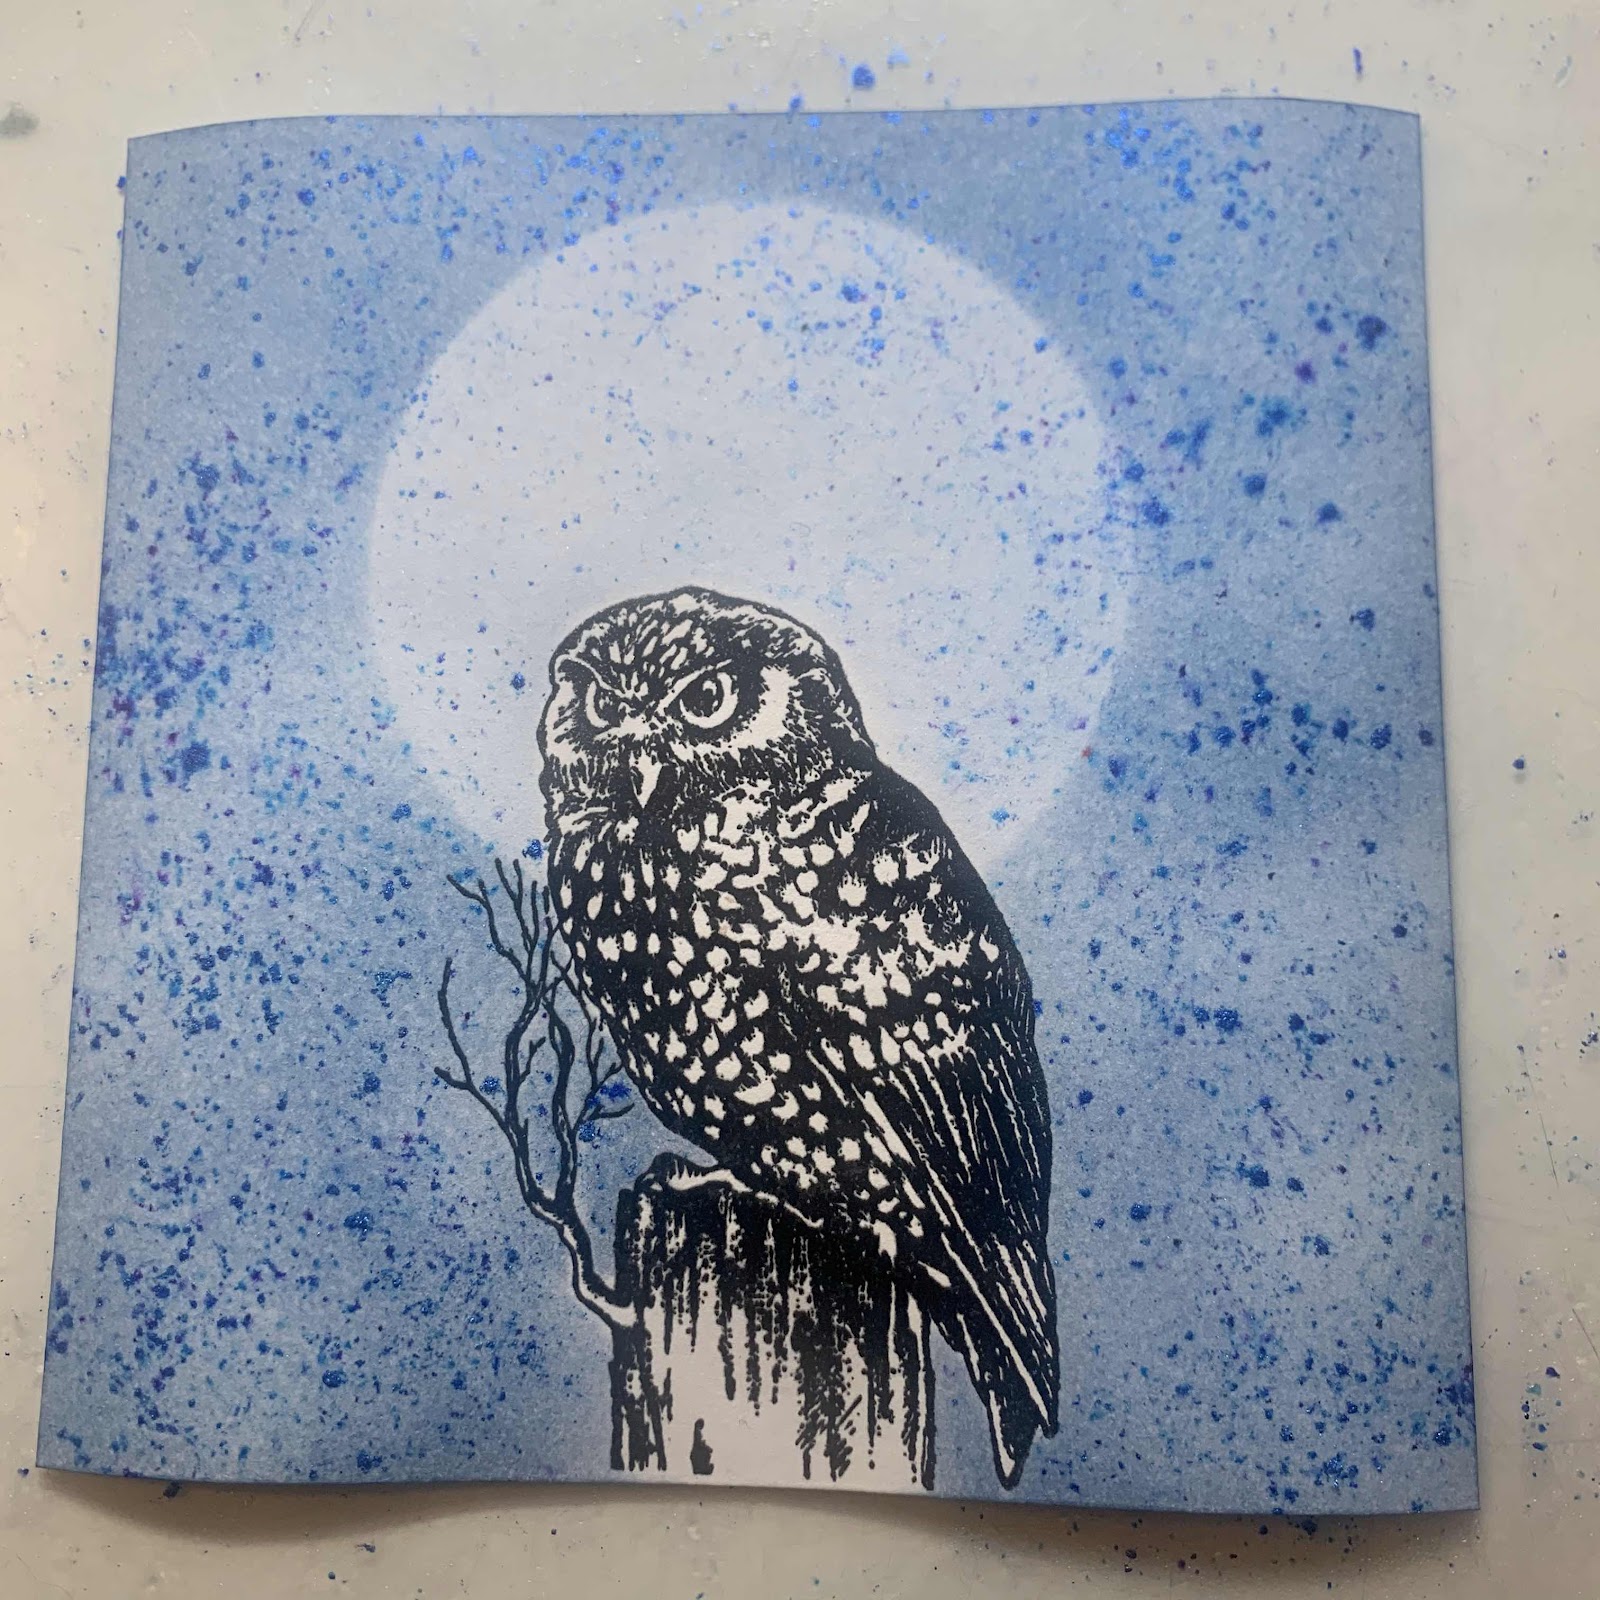
Using a fine mist - spray the whole background (again making sure your owl mask is in place)
While the card is wet carefully tap midnight blue pixie powder over the sky area and a small amount over the moon.
If you find the powder hasn’t reacted with the water lightly a spray some more water.
Dab off any excess with kitchen roll.
You can then dry the card with your heat gun this also helps to straighten the card slightly.
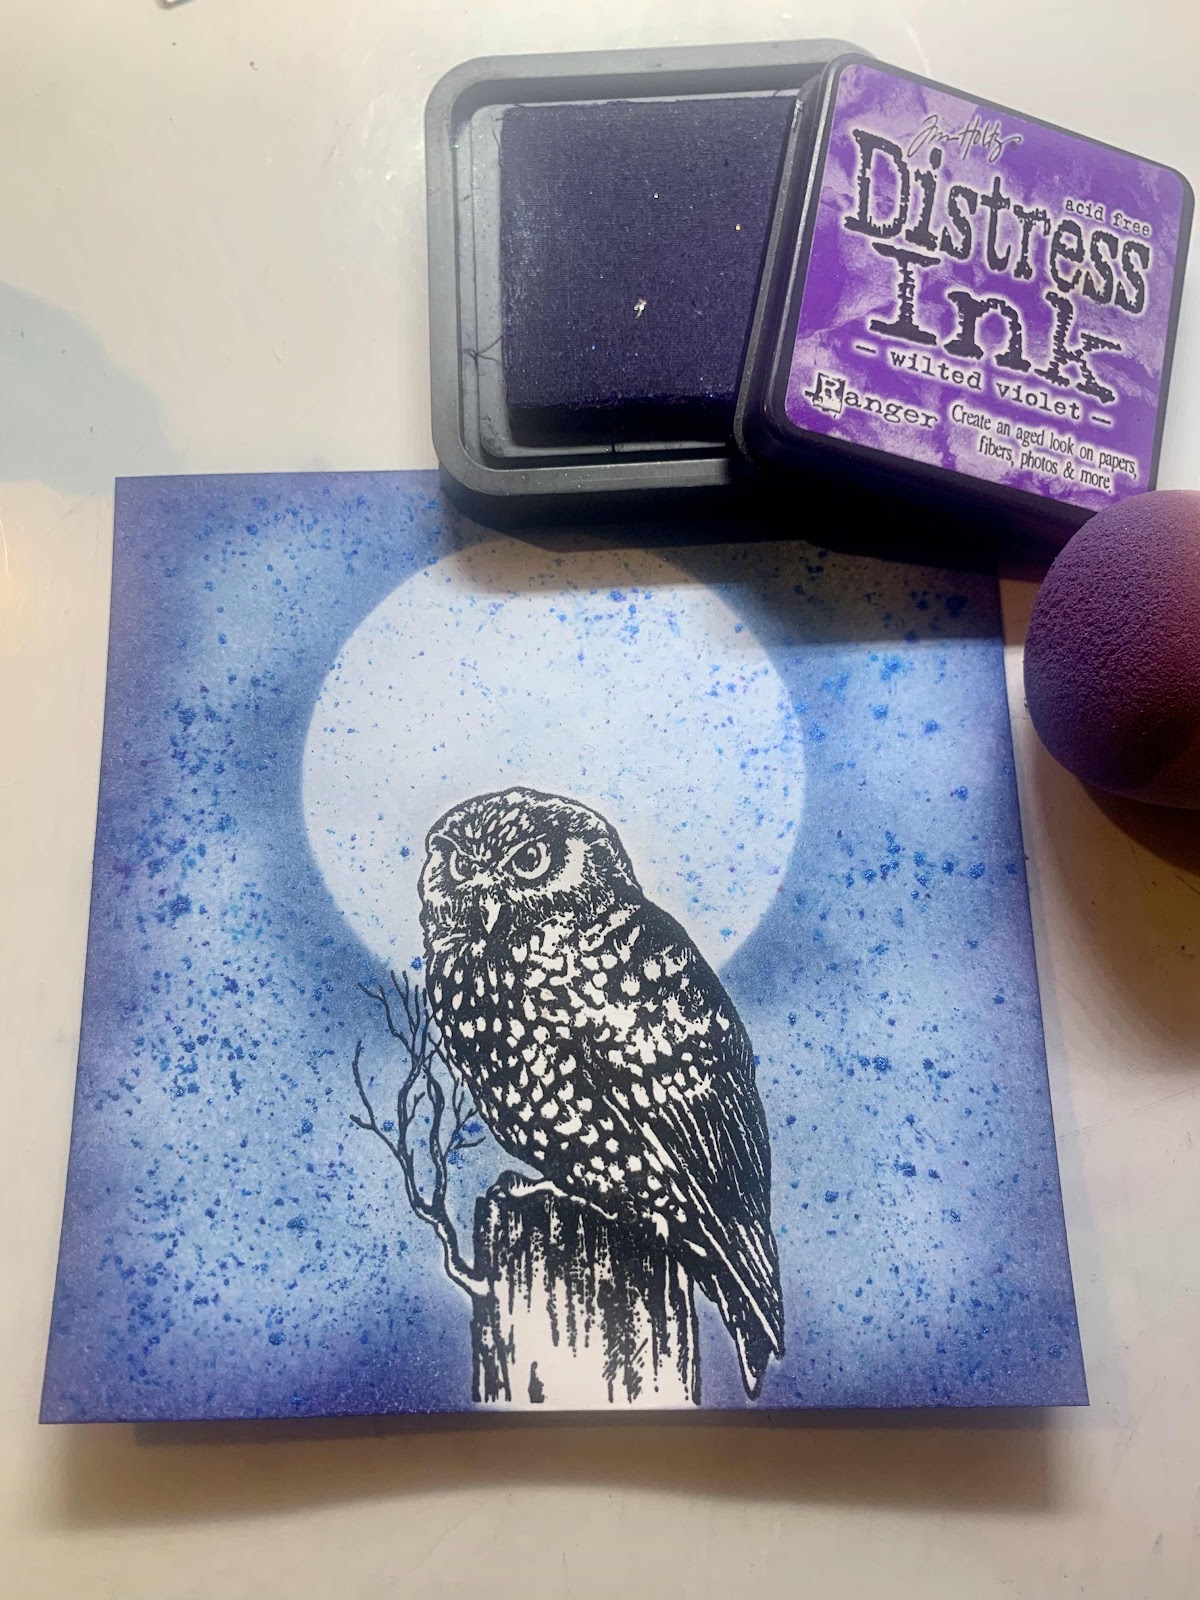
Using a slightly darker shade of blue - ink around the edge of the card.
Then place the moon back in place and drag the ink from the centre of the moon and flick outwards to create a darker halo.

I wanted to add a little bit more colour so went round the border again with wilted violet.
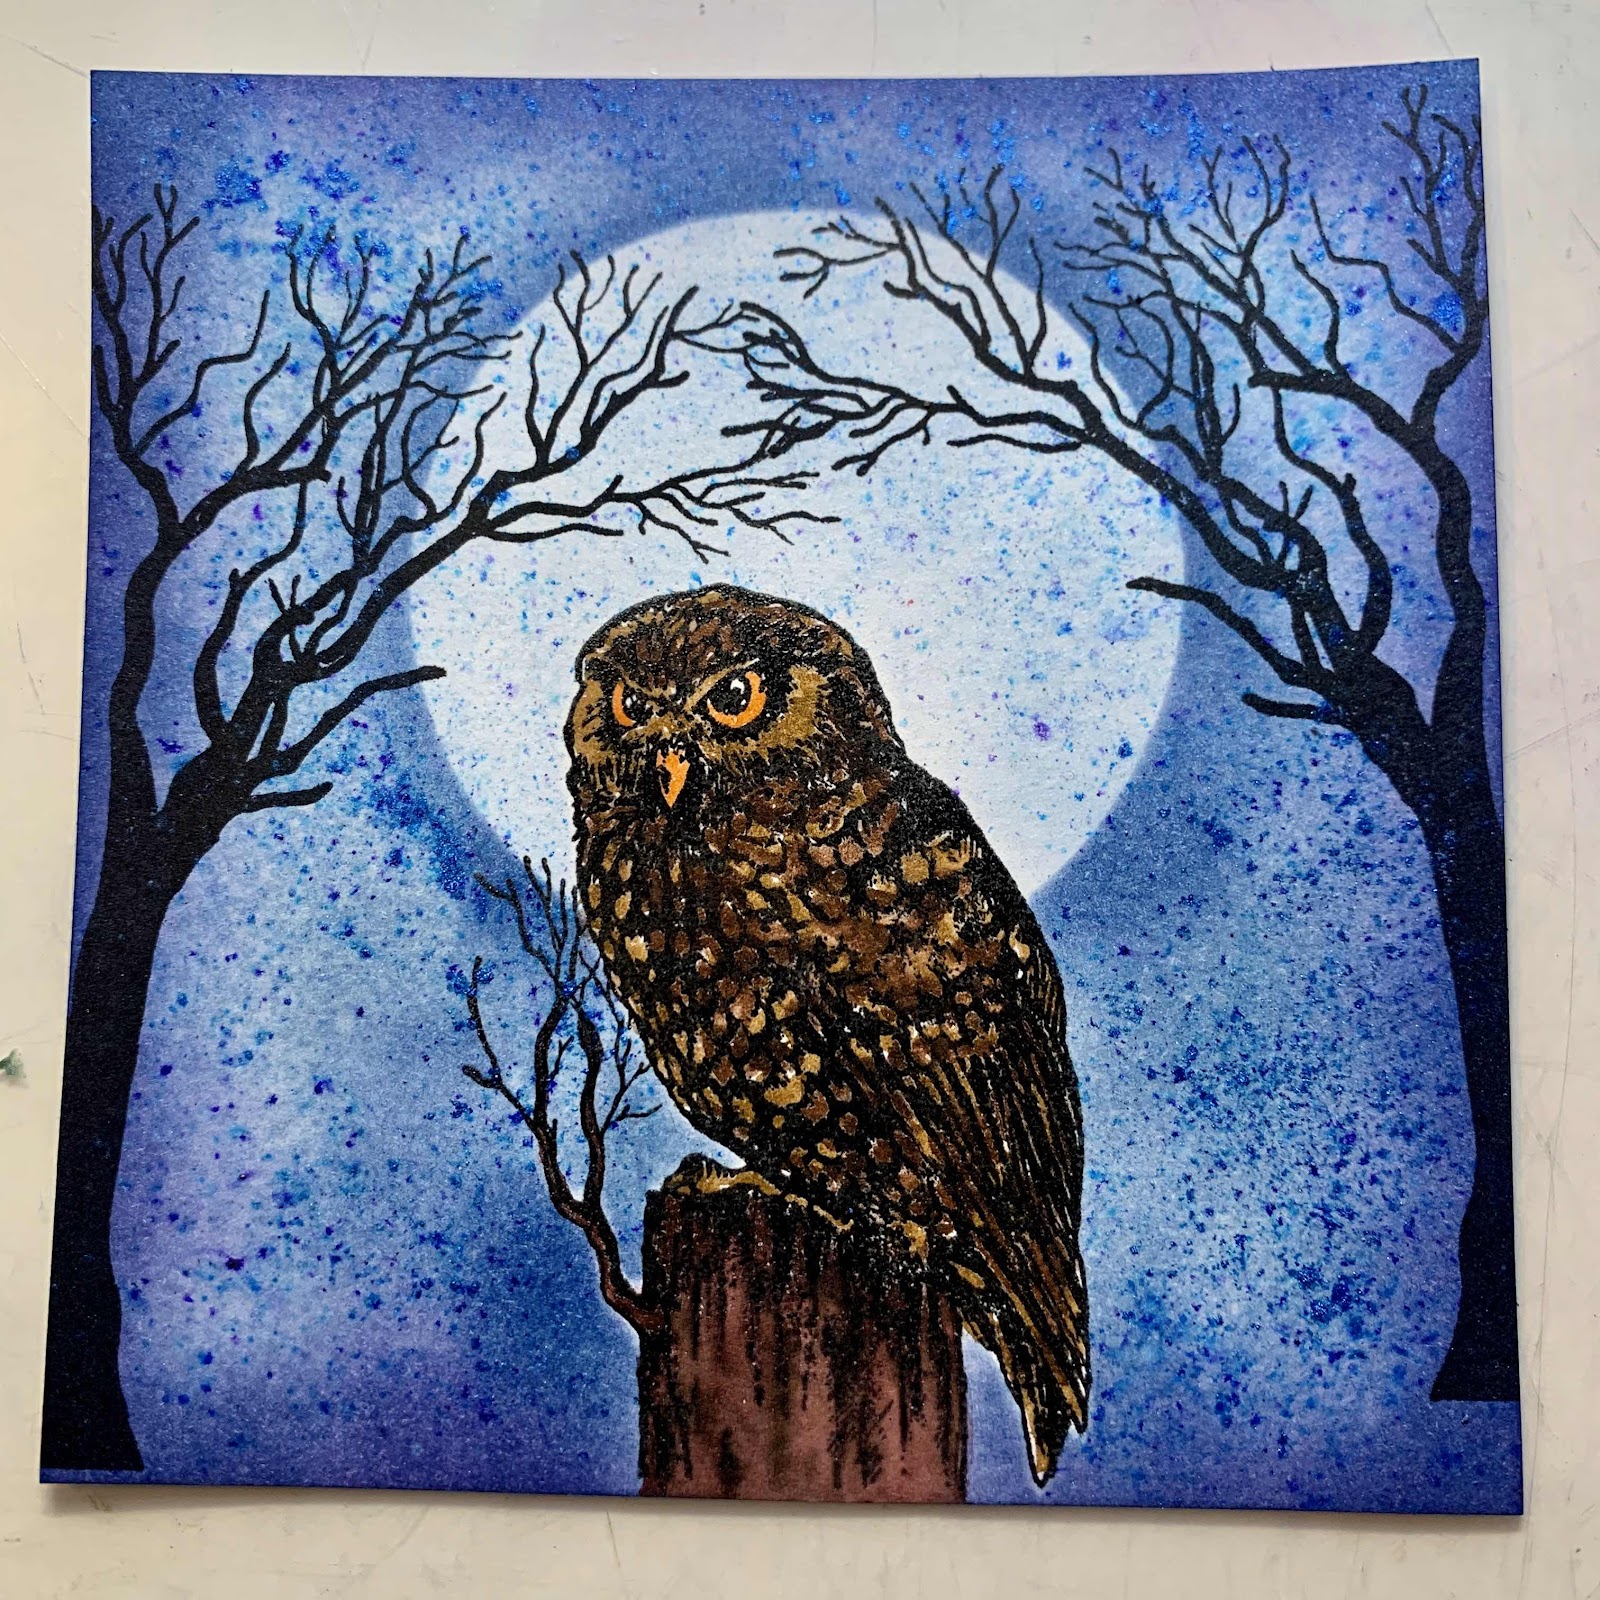
Now time to colour your owl.
For this I used the Arteza watercolour pens.
I then stamped the trees in the background. For this I used the tonic stamping platform. I haven’t been using it that long (in fact I actually borrowed this one from my mum to see how I get on with it before I buy)
This is really good if you need to go over the image to touch it up. Sometimes it’s really hard to get a nice clear stamped image when working with pixie powders.
I stamped this tree twice.

Now stamp the tree the other side again using the stamping platform.
As you can see the trees aren’t quite as tall as I wanted them so I touched up the area at the bottom with a dry paint brush and the same ink pad I used to stamp the image. Just dab the ink in that area to create the filled in shape you require.

Stamp the birds in the background.
Now I’ve almost run out of black card so I’m being a little tight here - using a ruler and sharpie, draw a thickish line around the edge.

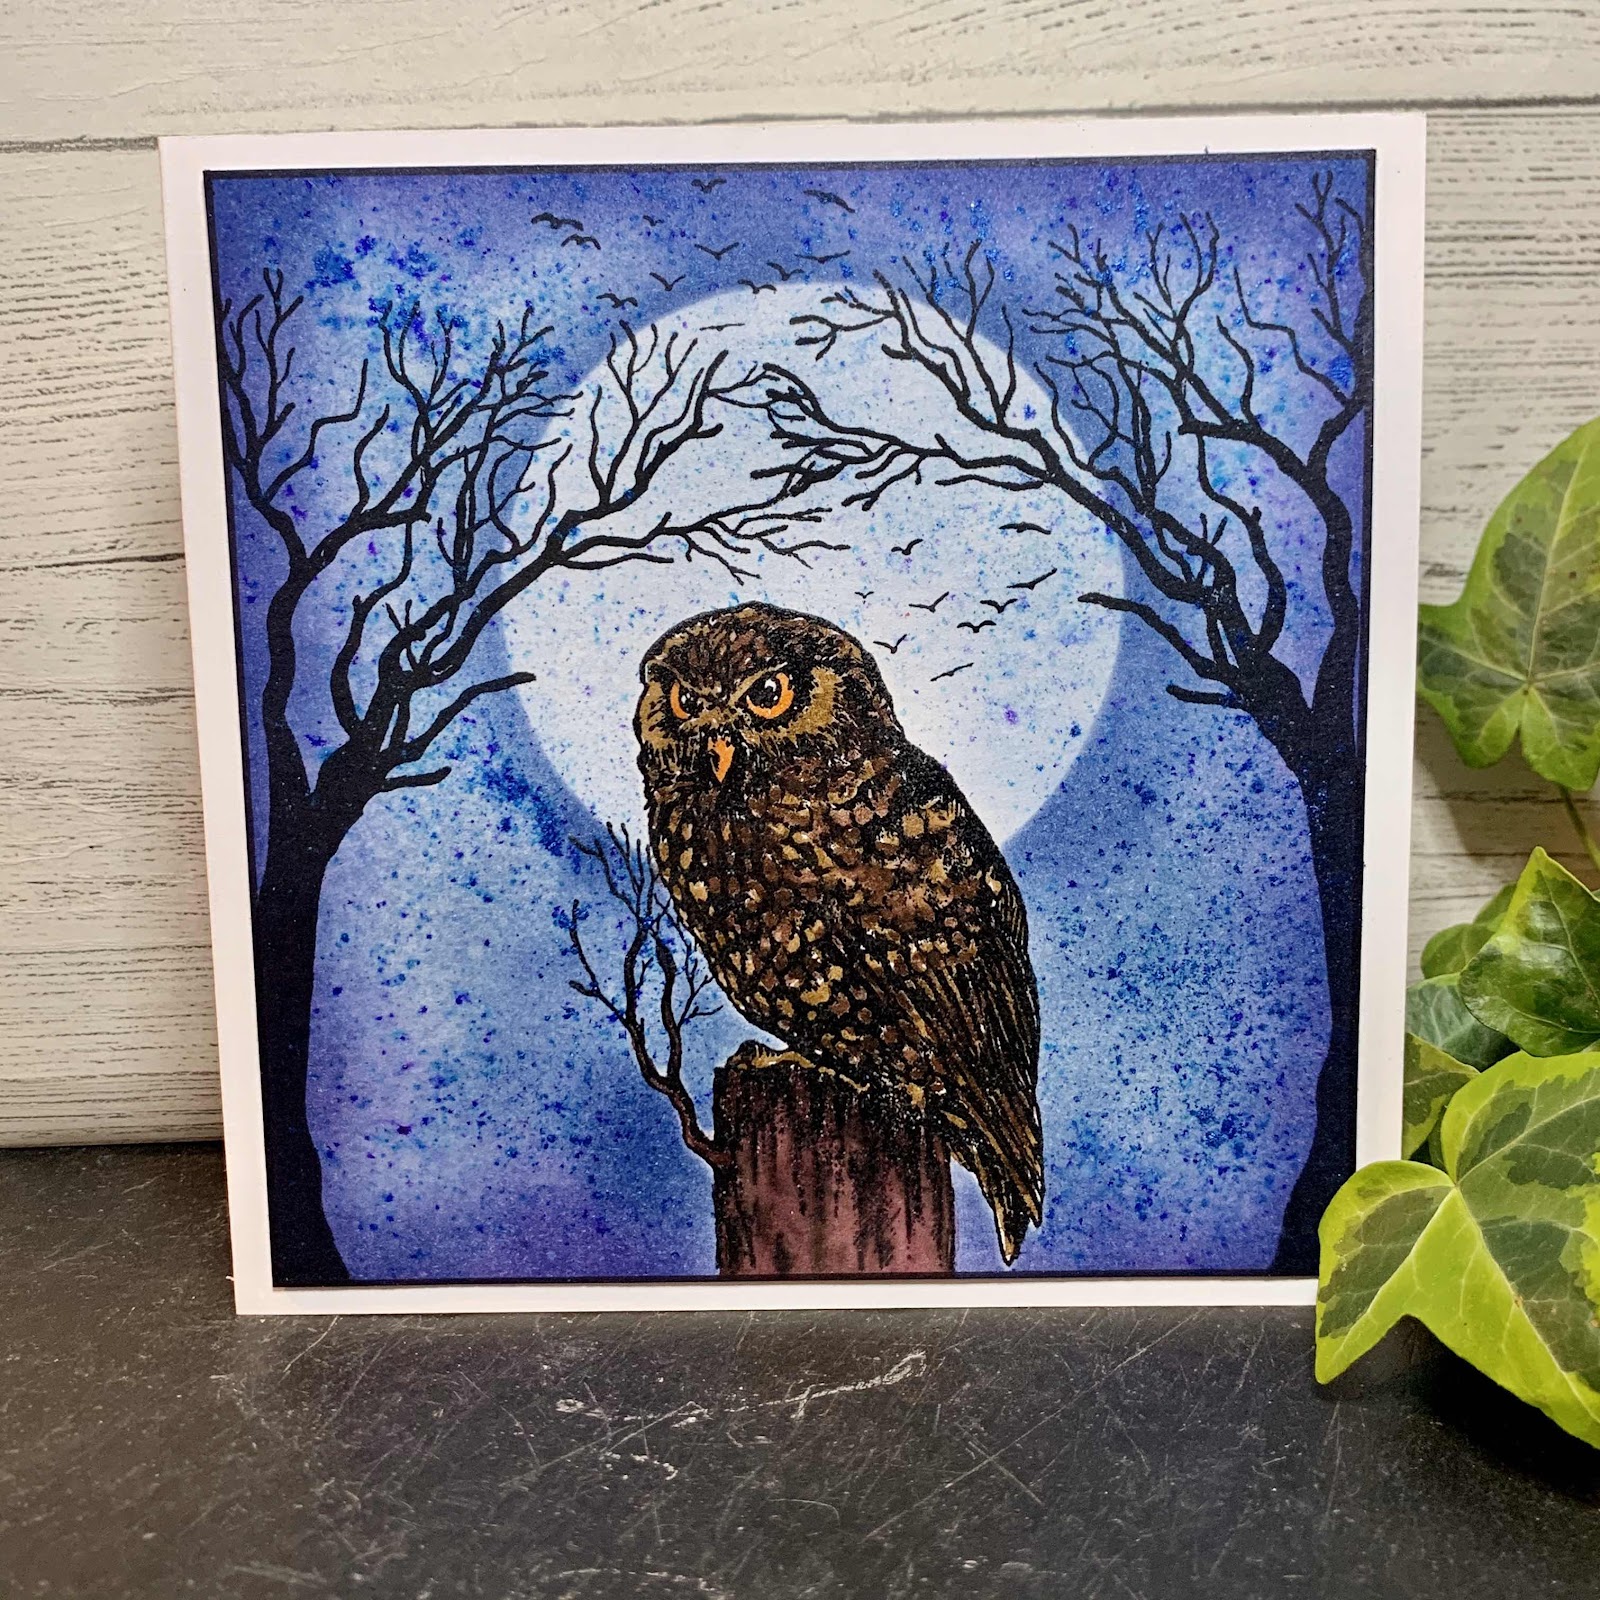
Now mount onto a pre scored 6x6 card.
And you card is complete!

Shopping list
Set of free stamps from creative magazine issue 83 - made by crafty individuals.
Black ink pad - VersaFine Clair
Wow embossing powder
Distress inks
Watercolour pens
Cosmic shimmer pixie powder - midnight blue
Card
Glue
Paint brush
Sharpie and ruler
Thanks for taking the time to read my post.