Search This Blog

Friday 30 September 2022

Crafty Individuals penguin birthday card

Hi Everyone!!!

Well, it's been such a long time since I last blogged. We seem to have had so much going on but hoping to get on top of things again. 
I made this card for someone who loves penguins for her 60th Birthday. The stamp I've used here is supposed to be a Christmas stamp but No one said penguins can't be used for birthday's right?


So I decided to make this a super tall card. Take a piece of A4 card and fold it in half length ways.
Cut a piece of card to fit on your folded card blank, measuring approx - 29x10cm.
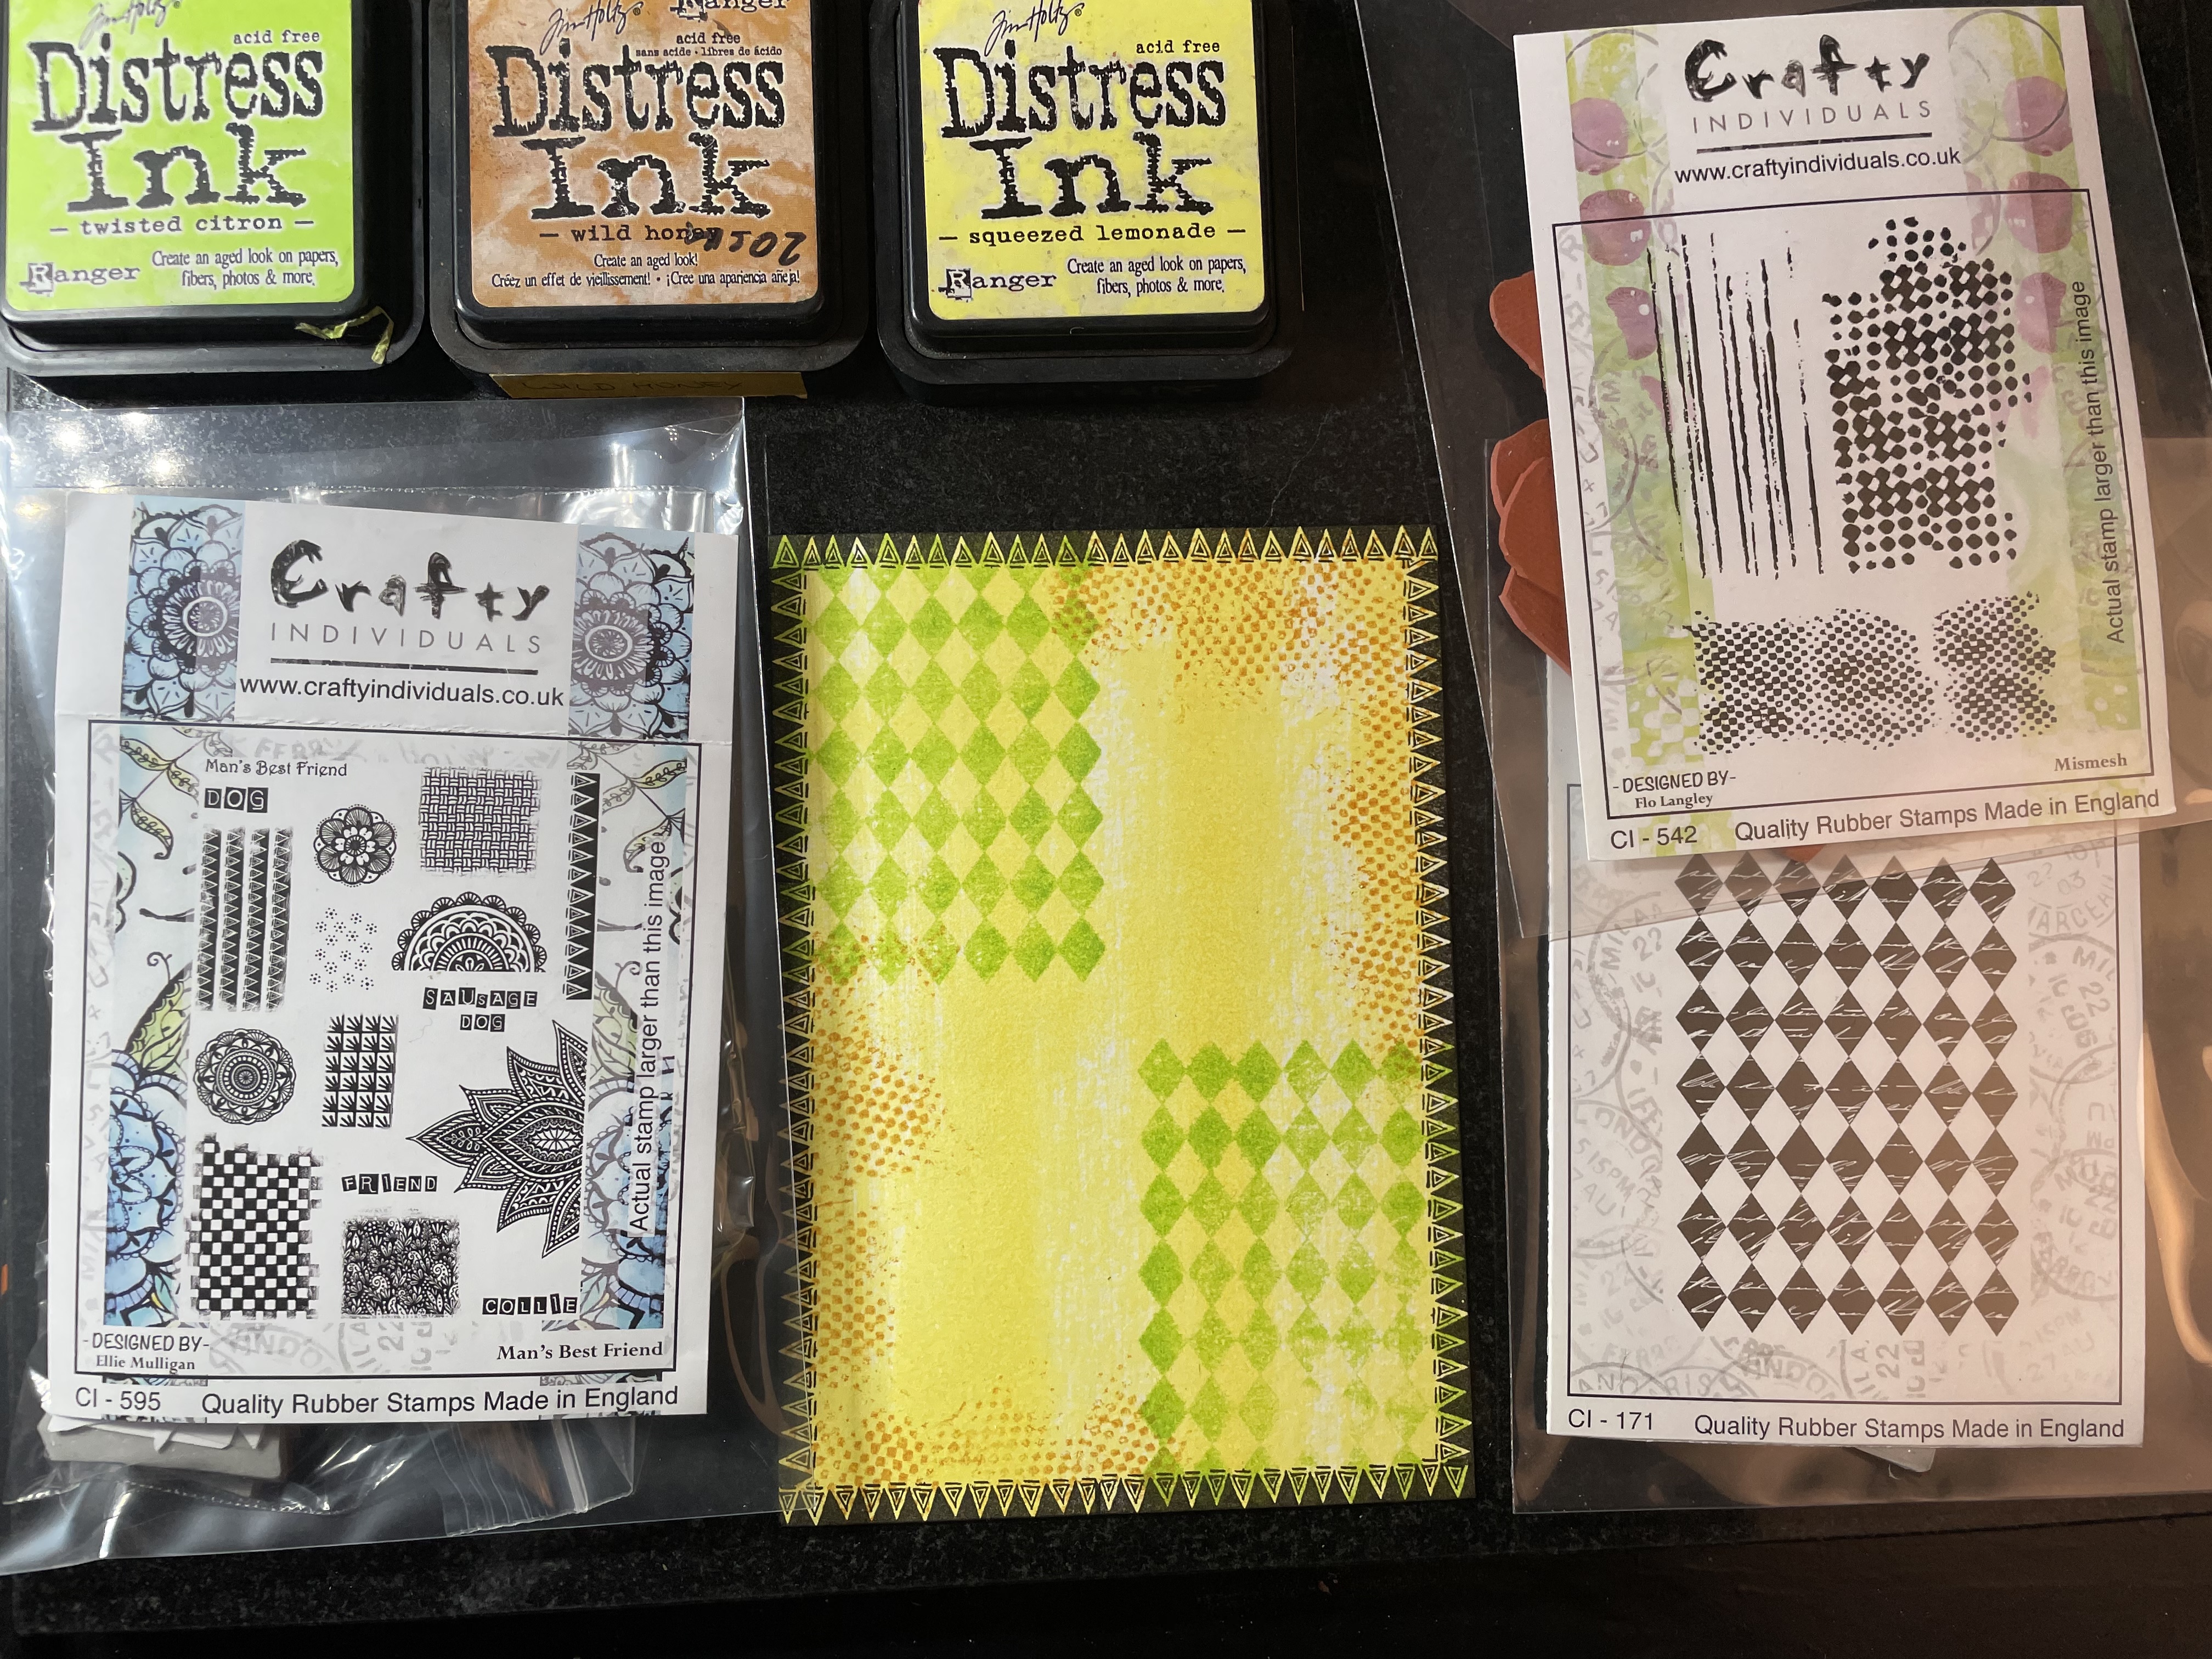
Randomly apply oxide inks in various areas with a blending brush.
Darken the edges with Uncharted Mariner.


Stamp the Indigo Blu bubbles stamp twice along the centre of the card.


Now randomly stamp the rays of light around the edges.


Drag the Versa Mark ink pad along the edge of the card and emboss with cosmic shimmer dark age mixed media embossing powder. This embossing powder is gorgeous - Its black with gold and silver specs in. 
I prefer doing this method rather than using a piece of black card as it makes an interesting border and saves on card.


Stamp the Crafty Individuals penguin in black ink. As you can see I didn't ink the antlers as this is going to be a birthday card.


Working fairly quickly, use a rubber tip tool to fill in the areas around the antlers and headband with black ink to disguise the lines a little. Emboss with clear embossing powder.


I noticed I might be able to fit another penguin the card so I repeated the process again.
Cut all three penguins out. 
Carefully snip the boots off 2 of the penguins along with the blades and laces. (As the penguins are going to be stood on each other they defiantly do not need to be wearing skating boots - it would be a little dangerous) 


Colour the penguins with spectrum noir tri blend pens.
Use a blender pen to blend out any harsh yellow lines on the penguins tummy.


Stamp and emboss some balloons and a party hat from the Tim Holtz Crazy things set.
Cut them out. 


Mount your background onto your pre-folded card blank. Stick the balloons and penguins in place. The boots can be positioned at different angles to make it look like they're balancing, this is the reason for snipping them off.
Using a black fine liner pen draw some balloon strings in.


Thank you so much for stopping by. 
I hope to be back soon with some more makes.

X - Dena - X

Shopping list

Tim Holtz - Crazy things stamp set
Versafine Black ink
Oxide Inks
Blending brushes
Clear embossing powder
Cosmic shimmer - mixed media - dark age
`Heat gun
Spectrum noir tri blend pens
Blender pen
White card
Black Micron pen


Thursday 9 June 2022

Slimline lion fathers day card

Hi Everyone!!!

Hope you all enjoyed the extra bank holiday days last week? We spent the week in Norfolk and loved seeing all the decorations.
Although I had a lovely time I always enjoy coming back to my desk. Thought I'd better make a start on some Fathers Day cards for our own family. So made this tall lion card out of a piece of A4 card folded in half length ways. I pinched this style of fold from Jean Hardy from Crafty Individuals and now I cant stop making them - the only problem I have is finding an envelope to fit.


Start by stamping and embossing the gorgeous Lion image on white card and cut to size - approx. - 9.8cm wide.


Apply some masking fluid over the lion with a synthetic brush.


Dab the distress oxides on your messy mat and spritz with water.


Dab the lions head in the ink until your happy with the background.
I left a some areas white around the mane to create a halo effect.

Remove the masking fluid with a glue eraser.


Colour the image with alcohol markers - I used spectrum noir tri-blend pens.


Apply a coating of pinflair craft glaze over the face area.


Now add some texture around the edge using the stamps from CI-595 by stamping in black and emboss with clear embossing powder.


Dab some more ink onto your messy mat and spritz with water. Use a piece of white card to pick the ink up until your happy with the look.

For the next stage I actually changed my mind after I'd cut these pieces and forgot to photograph it.
Ensure the piece of card is the same width as the lion, then cut two strips measuring 3.3cm and another measuring 6.8cm. You should now have 3 pieces of card not 4 like below.


Take the larger piece of card and stamp some pattern designs from CI-595 in distress oxides. 
Stamp and emboss the border in black.


Stamp and emboss 'Dad' on an extra piece of coloured card that matches your backgrounds. Cut each letter out along the inside lines. If you look closely each letter has different layers.
Stamp and emboss 'Dad' onto black card and cut around the largest outline.
Put this section aside for now. 


Stamp and emboss the wording 'king for a day' from the pink ink lion set onto one of the smaller strips of card. 
Then stamp and emboss some more textures from CI-595


Stamp and emboss Happy Fathers Day on the final strip of card. This was a freebie set from a magazine an I'm afraid I'm not sure which one but you could use any happy fathers day stamps you have in your stash.
Again stamp the same border around the edge and emboss.


Score a piece of A4 card length ways and fold in half.
Cut a piece of black card to fit your card blank, leaving a very small white border around the edges
Secure all strips of card in place. I found it easier to stick the piece at the top and bottom first then you can space out the other two pieces evenly. 
Finally stick the black layer of Dad letters in place then secure the smaller letters using pinflair glue to give them a raised look.


Shopping list

Pink ink Lion set
Mr Smiths workshop Dad stamp by Docrafts
Freebie stamp set
White card
Black card
Glue
Pinflair Glue
Masking fluid and applicator 
Distress oxide
Black versafine ink
Clear embossing powder
Heat gun
Water spray 

Thanks for visiting!!

X_Dena_X


Tuesday 24 May 2022

Crafty individuals dog card

Hi Everyone!

Second post for me tonight, this time using this fab dog image.


Cut a piece of card to fit on a pre-folded 6x6 card blank, leaving enough room for a white border.
Stamp and emboss the border along the left hand side of the card. Then stamp and emboss the dog.


Colour the background with speckled egg oxide ink. Don't worry too much if you ink some of the dog as its going to be coloured using a similar tone. 
Distress the edges with vintage photo.


Randomly stamp some of the textures in the background using vintage photo oxide ink.


Colour the dog using alcohol markers. I used a mix of pro-markers and spectrum noir tri-blend pens. Use the blender pen to lighten and fade the ink into the white areas on the face.


Finally mount the image onto you pre-folded 6x6 card blank.


Shopping list

Happy dog - CI-522
Mans best friend - CI-595
White card
6x6 card blank
Oxide inks
Black ink
Embossing powder
Heat gun
spectrum noir tri-blend pens
Blender pen
blending brushes

Thanks for visiting 
X-Dena-X


Crafty individuals Trilby cats

Hi Everyone!

I have a couple of posts to share with you tonight. The first is this extra bright trilby cats card. 


Stamp and emboss the cats on white card.
Cut around the image leaving a little white border around the edge. I used a guillotine to cut the 3 straight edges and cut the other edge with scissors. 


Colour the cats and the background with pro markers.


Cut a piece of card to fit on a pre-folded 5x7 pre-folded card blank leaving enough space for a border.
Using a brayer apply a layer of squeezed lemonade distress ink.
Stamp the harlequin design (CI-171) in twisted citron on opposite corners. 
Randomly stamp the small textured dots from CI-542 in wild honey.
Then stamp the funky triangle edger stamp From CI-595 around all four edges in black ink.


Stamp and emboss the happy birthday sentiment from CI-570


Place the stamped cats over your background and draw around the edge in pencil (do not stick it down at this stage)
Use a straggly brush apply some black gesso, to do this the brush needs to be fairly dry. Start with your brush in the centre section then flick out to the edge to create a wispy look. I personally think this gives the illusion you've used torn black handmade paper.


Once the paint has dried mount the topper to the background and then onto your pre-folded card blank.


Shopping List

Trilby cats - CI-568
Harlequin stamp - CI-171
Mismesh textures - CI-542
Mans best friend - CI-595
It's cool for cats - CI-570
Black ink
Distress ink pads
Clear embossing powder
Heat gun
White card
Pre-folded card blank
Black Gesso paint 
Old paintbrush 
Pro-markers
Blending brushes

Thanks for joining me.
X-Dena-X


Sunday 22 May 2022

Dragonfly Card

 Hi Everyone!!!

Wow it's been such a long time since my last proper blog post. I've been really busy making flower headbands for the Chelsea flower show and making samples using the new Crafty Individuals stamps, due to be launched on 3rd June on Create and Craft. The new stamps are absolutely gorgeous, you may also notice some new sentiment stamps that I was lucky enough to design.

Anyway - had a quick crafting session today using my new Tim Holtz dies.  


Use a brayer to apply speckled egg oxide ink to your gel plate.
Dab vintage photo onto a tile and pick the ink up with a watery fan brush. Spatter the ink on the gel plate.
Using a piece of card that'll fit on a 6x6 card blank, place on the inky section of the gel plate and rub over the back to pick all the ink up.


Distress the edges with vintage photo.


Die cut the crackle corner.


Randomly stamp the crafty individuals script in vintage photo.


Apply Forest Moss oxide ink to the Tim Holtz grassy stamp and spritz with water. Stamp the image once and then again in another area so the ink appears lighter. Repeat this process along the bottom section of the card.


Die cut the dragonfly from the Tim Holtz bug collection twice. This die cuts three separate sections of the dragonfly, which creates lovely layers when stuck down.


Colour the base layer with vintage photo.


Colour the body with vintage photo and the wings with antique linen.


Colour the wings with speckled egg.


Then apply some iridescent medium to the wings to add some shimmer.


Stamp and emboss the happy birthday sentiment from CI-464 in gold.


Add a shadow around the sentiment with a black pen.


Mount your topper onto a brown piece of card allowing a slight border around the edge.
Mount onto a 6x6 folded card blank.
Assemble and stick the dragonflies in place.


Finally stamp a couple of smaller dragonflies from CI-207 in vintage photo oxide ink.


Thank you so much for joining me, will hopefully do another blog post very soon. 

X-Dena-X


Shopping list

White card 
6x6 card blank
Oxide inks
Versafine brown ink
Gold embossing powder
Heat gun 
Fan brush 
Blending brushes
Tim Holtz grassy stamp - I'm sorry I cant find the packaging for this one
Tim Holtz crackle die - 661175
Tim Holtz bugs - 665364
Iridescent medium 
Glue
Black pen
Gel plate