Search This Blog

Showing posts with label Crafty individuals. Show all posts

Monday, 14 August 2023

Crafty Individuals August launch

Hi Everyone!!!

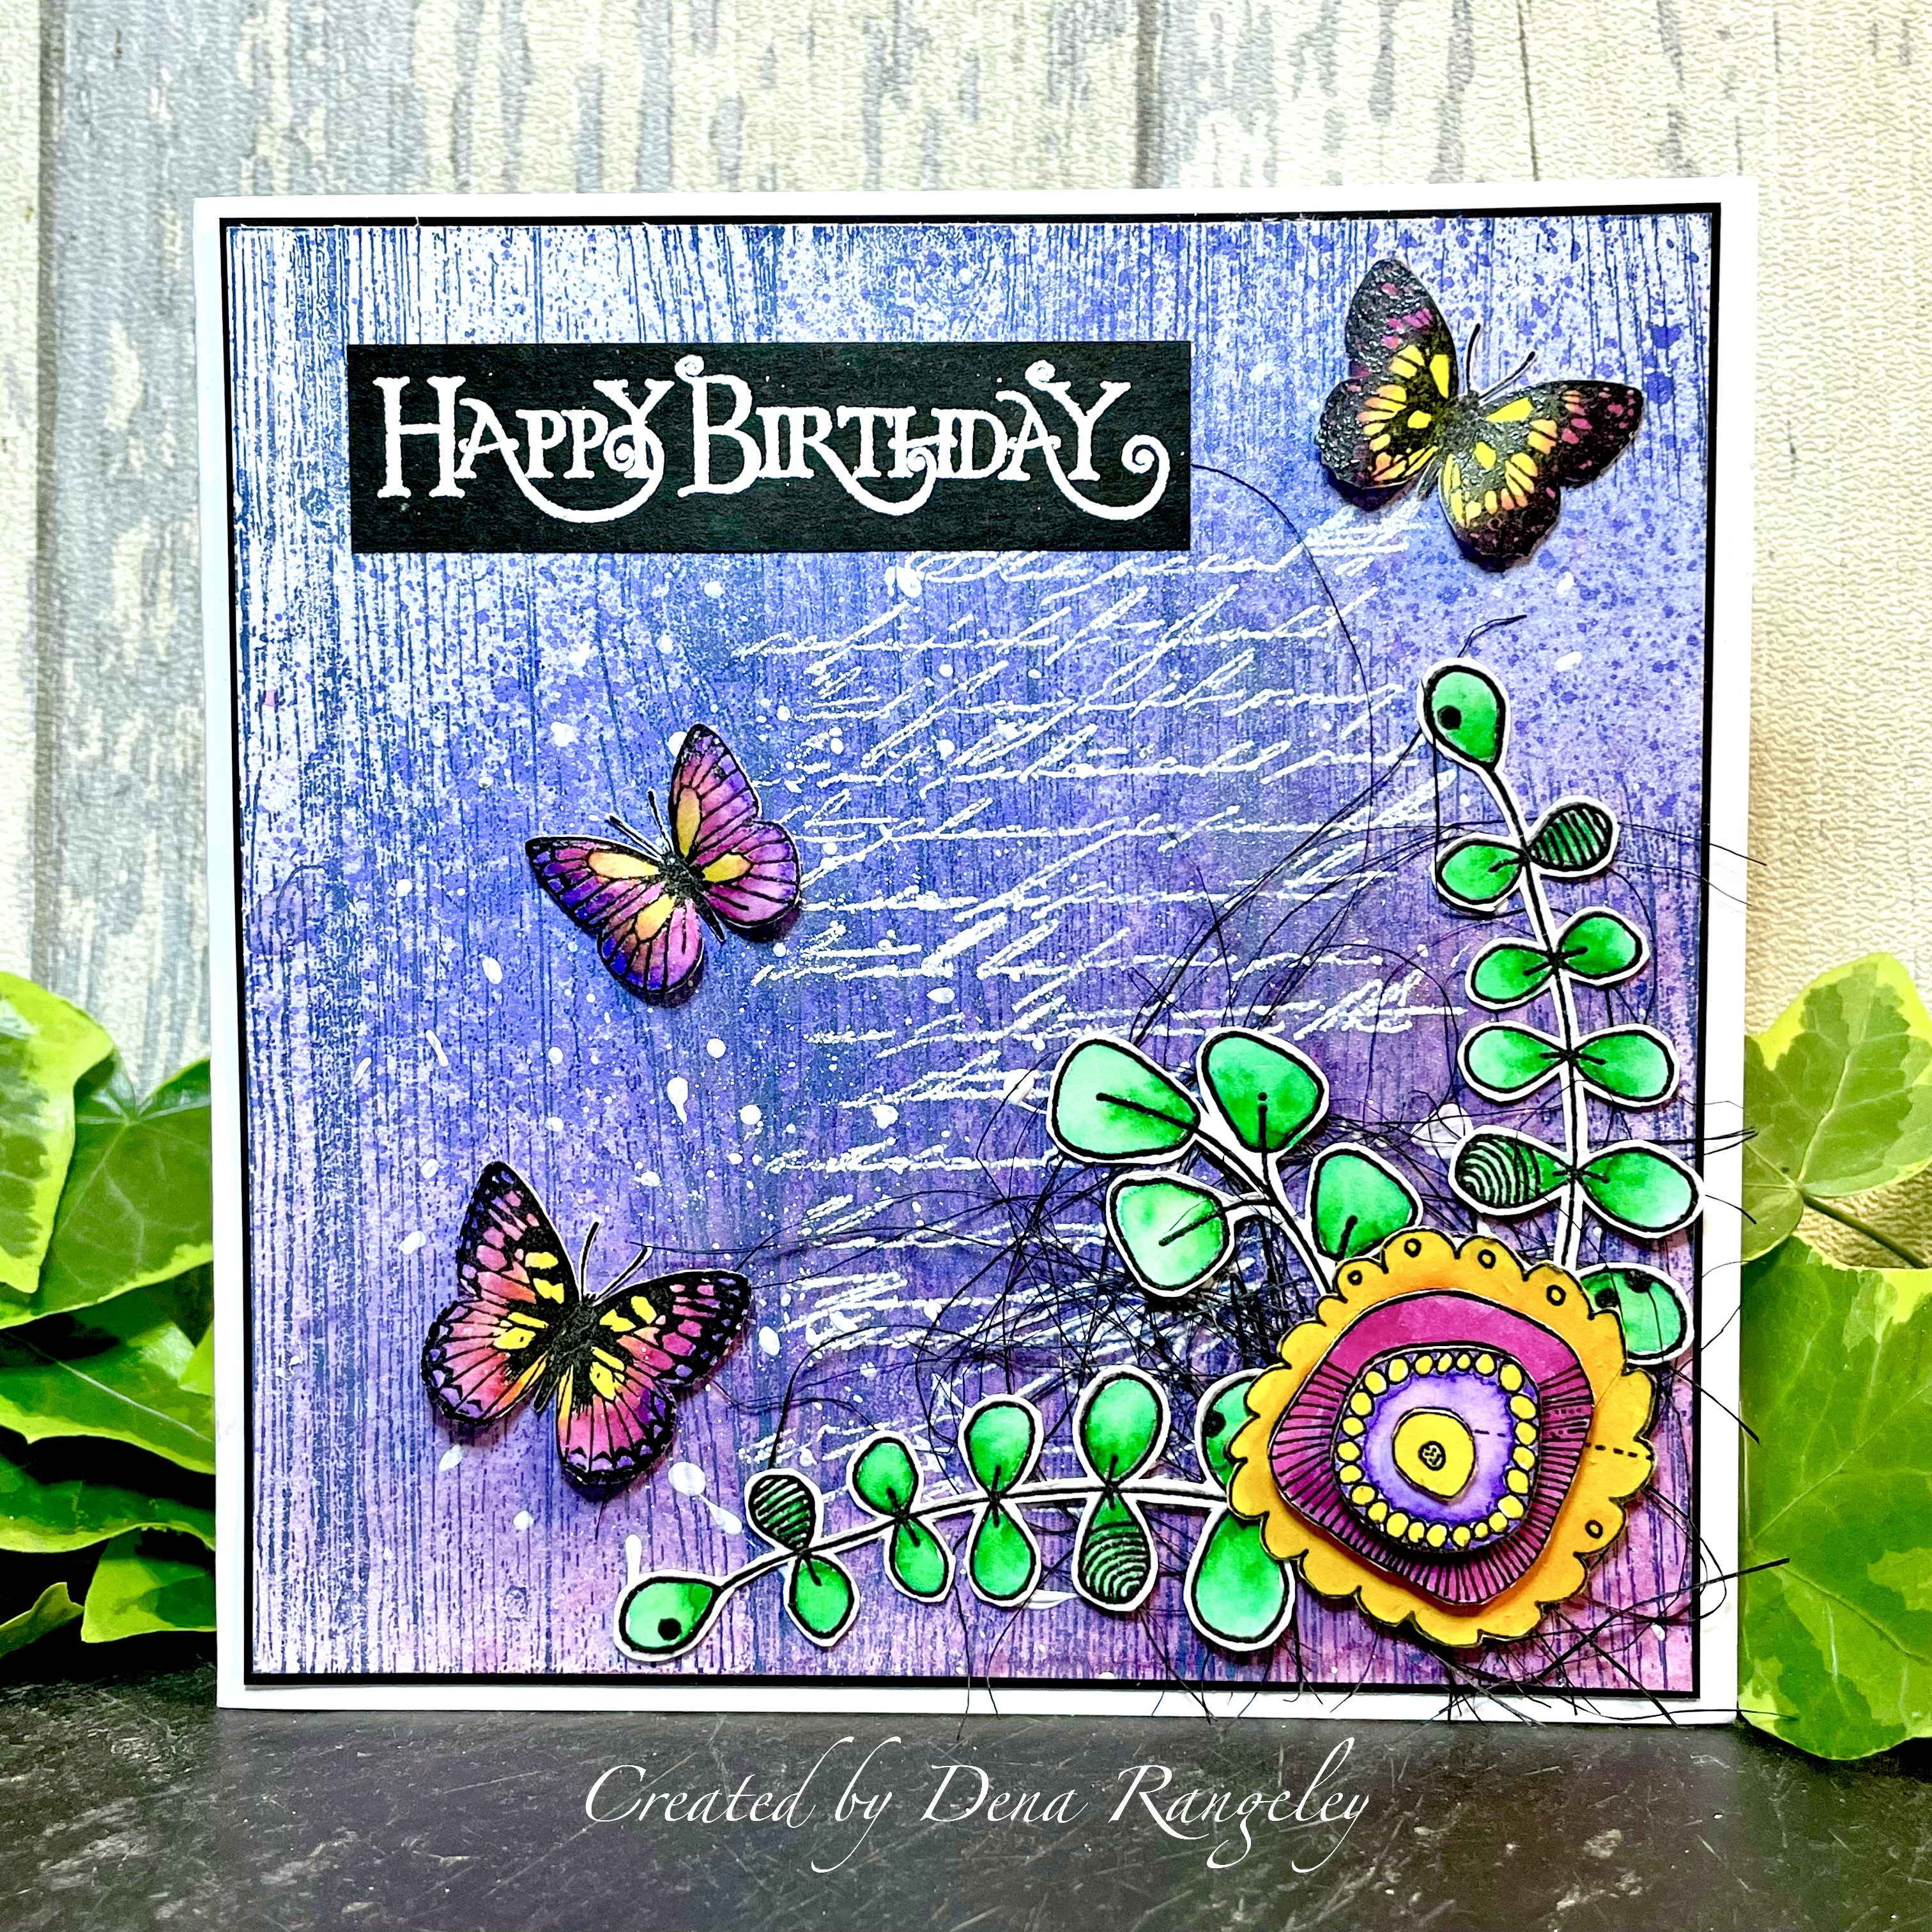
Did you manage to catch the latest launch of Crafty Individuals stamps, stencils and papers on Create and Craft TV earlier this month? There's a fab collection of funky floral designs drawn by Sharon Bates, a new wood grain stamp which I just love and is perfect if you love creating your own background's, and a dreamcatcher which I was lucky enough to have drawn and turned into a rubber stamp. 

Here are some of the samples I made along with a list of all the new stamps. As you can see I seem to have had a bit of an obsession with circles and used them in several of my samples this time round.


Thank you for visiting!!

X - Dena - X


Sunday, 13 August 2023

Crafty Individuals bird card

Hi Everyone!!

I made this card yesterday and couldn't resist using the new woodgrain background stamp from Crafty Individuals. This has to be one of my favourite background stamps - It's so versatile and just goes so well with so many stamps.


Start by cutting a piece of white card to fit on a 7x7 card blank.
Using a blending brush, colour the background with tea dye distress ink.
Stamp the Woodgrain background along one side. You'll need to stamp it again on the bottom half as the stamp won't be big enough to cover the whole piece of card. I used a piece of thin copier paper to cover the stamped image then stamped it a second time. If you feel there is a definite line along the join use a rubber tip tool to pick up some brown ink and blend the lines into each other until your happy with the overall look. 
Randomly stamp some more of the woodgrain stamp on the right hand side the card. Then stamp part of the Inky Script background in the empty spaces. 
Darken the edges with your blending brush and brushed corduroy distress ink. Add some faded blue distress ink in places. 
Using a scoring board score along the main wooden planks to add some texture.
Flip the card over and score along all the edges of the card to create a beveled edge.
Mount the background onto black card then onto your pre-folded 7x7 card blank.

Stamp the A is for apple bird image in black and emboss with clear embossing powder. 
Cut the image down to size.
Stamp and emboss the branches from the Be wild elements stamp set and some foliage around the bottom.
Hold a piece of scrap paper where you'd like your horizon line and lightly add some faded jeans distress ink to the top section. I didn't bother masking the image on this occasion as I coloured with colouring pencils. Cover the skyline with scrap paper and lightly add some peeled paint distress ink to the grassy area.
Colour the image with your desired medium - I used the Castle Arts Gold pencil set. Using a green pencil add some shading under the log and apple.
Use a ruler add a thin border around the edge of card using a black sharpie. 
Cut a piece of brown card just slightly larger than your topper. Add some Rose gold gilding polish from creative expressions around the edges. 
Finally mount onto a piece of black card then onto your main card. 

Thank you for joining me.

X - Dena - X


Tuesday, 20 June 2023

Happy Fathers Day - dog card

Hello!!!

I have this very quick card to share with you today. As you can see this is the card I made for my son to give my partner/his step Dad for Father's Day. 
You could still do something very similar and just change the sentiment.


I started off by arranging some words on the computer, I used Word Art (Microsoft Word) to insert this hollow, black outlined sentiment and printed it off. You could obviously use any sentiment.

Cut the card down to fit on a pre-folded 5x7 card blank. For this card instead of using a standard card blank where the fold would normally be along the longest part of the card (in this case along the top) I decided to make my own blank to have the fold along the side. To do this you will need an A2 size piece of card.
Stamp the lovely quirky dogs in black ink and emboss with clear embossing powder.
Colour the dogs and the sentiment in coordinating colours. I used castle arts gold pencils. 
Using a small brick stencil lightly apply some brown distress ink in background with a blending brush.
Use a piece of scrap paper to mask off the top part of the card and apply some grey ink to make it look like the road.
Dab some distress inks (that coordinates with the colours used on the sentiment) onto a tile/messy mat and using a watery fan brush add a few inky splatters around the text to make it look as if its been spray painted on. 

Add some glossy accents to the dogs eyes, nose and dog tag.
Using a black fine liner pen add a few dashes to make it look like the dogs are speeding past.

Finally stick the topper onto your card blank. 

Thank you so much for joining me, I'll be back soon with some more makes. I currently have several projects sitting in the drafts ready to be edited. 

X - Dena - X


Sunday, 18 June 2023

Crafty Individuals June launch

Hello Everyone!!

Yet again I've been neglecting my blog. We've got rather allot going on at the moment as we're hoping to move very soon so have been busy sorting the house out as well as creating design team pieces and trying to keep my little shop going. I will try to post every now and again but have several posts ready to be edited that I hope to publish very soon.

Anyway enough about that, did you manage to catch the latest launch of Crafty Individuals stamps on create and craft at the beginning of June? They released a fabulous collection of 'favourite stamps' that has been shrunk down into a 'mini' collection. So, if your into making ATCs or like to create smaller pieces then this collection is definitely for you. You'll also find a few new Christmas designs drawn by the very talented Sharen Bates. 

Below is a list of stamps that was in this launch so do pop along to the Crafty Individuals website and check them out!!!

CI-627 - Cat and Dog
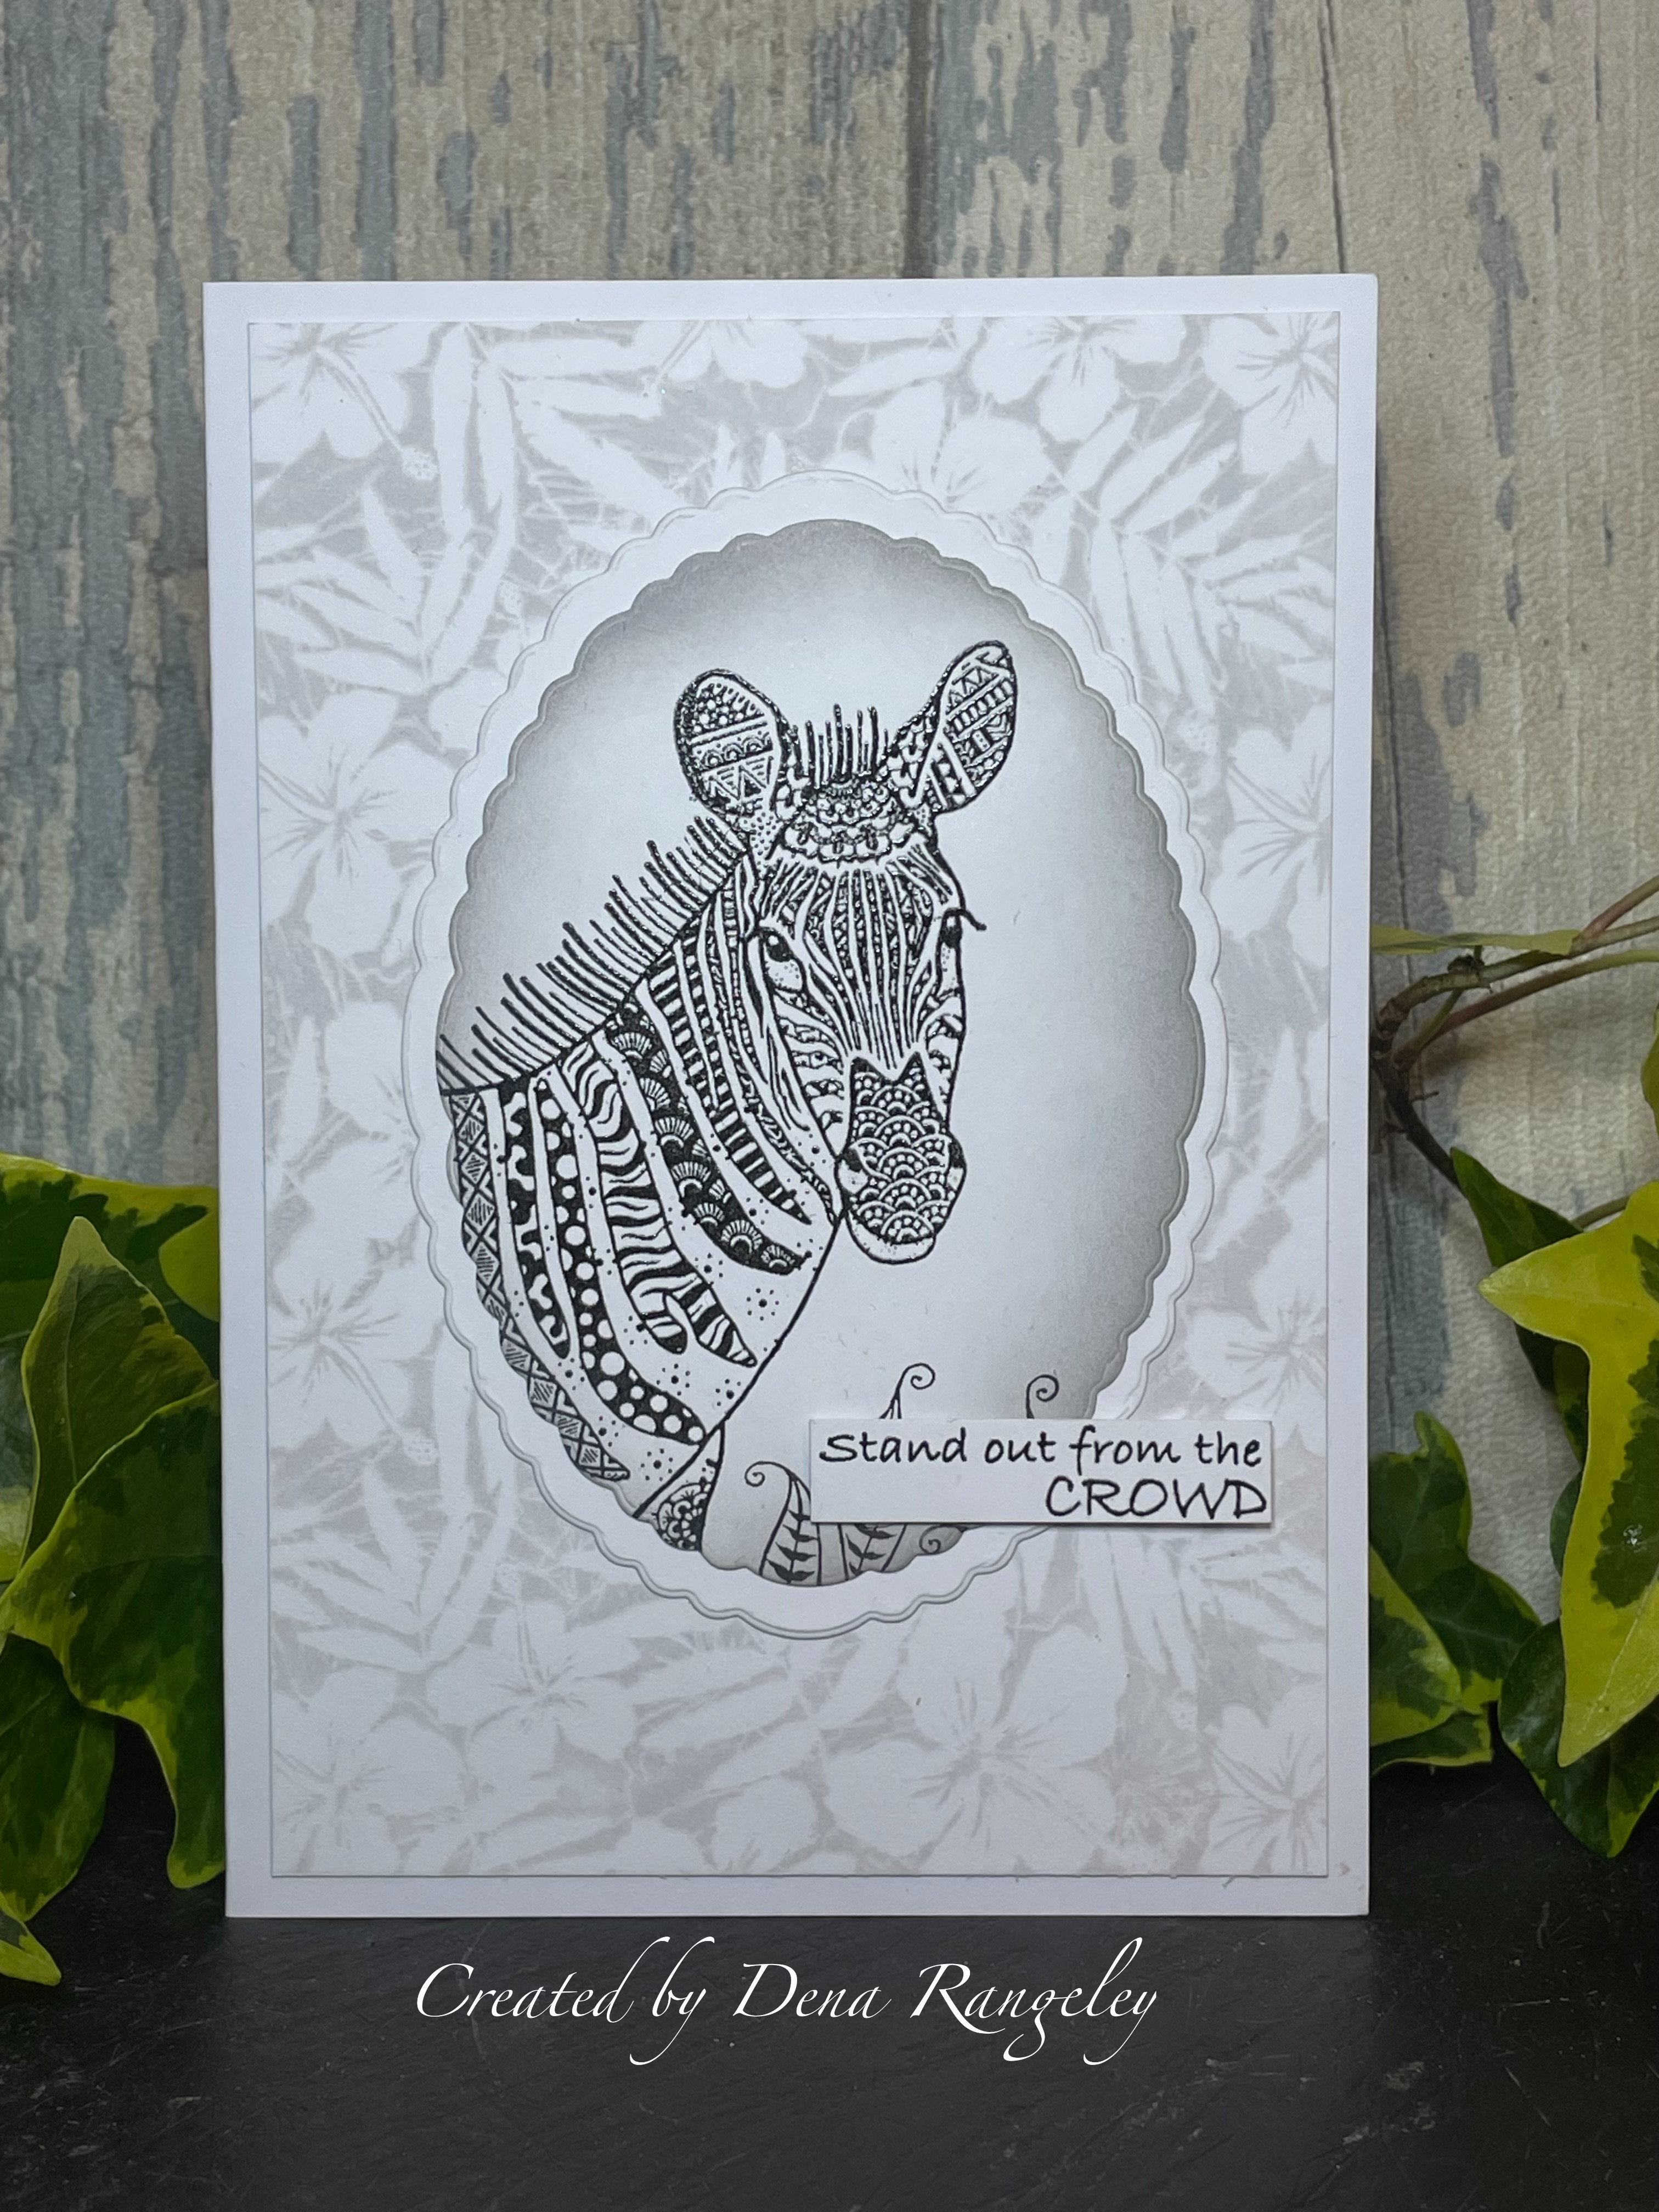
CI-629 - Zebra and Giraffe
CI-628 - Hare, seagull, butterfly and swirls
CI-436 - Inky Script
CI-284 - Life's a beach
CI-573 - Counting down background stamp
CI-547 - Pablo penguin
CI-567 - Luigi the llama
CI-456 - Robin
CI-630 - Christmas Arthur car
CI-631 - Christmas tree 

Here are a few sample I made for the show.


Thank you for visiting 

X - Dena - X


Tuesday, 11 April 2023

Crafty Individuals Dolphin card

Evening All!!

Sharing another sea themed card, this time using the lovely Crafty Individuals Dolphin stamp.


Stamp the dolphin image onto white card using black versafine ink and emboss with ultra fine clear embossing powder.
Cut the piece of card down to size. 
Colour using your preferred medium - on this image I actually used my new colouring pencils. I recently purchased the Castle Gold set of pencils and they're just so lovely to use. These are oil based and blend beautifully. The sea was also coloured in using the pencils. I then used a blending brush over the water area to achieve a smoother look. 
Add some Lisa Horton mermaid tails turquoise glitter specs.

Place your image on a pre-folded 6x6 card blank without sticking it in place and draw around it with a pencil. 
Stamp and emboss the Crafty Individuals shells border around the pencil line. 
Then stamp and emboss a few extra single shells and starfish in any of the blank areas.
Colour the border with your pencils.

Mount your dolphin topper onto a piece of black card then onto your card base.

Thanks for joining me!

X_Dena_X


Crafty Individuals Seahorse card

Evening Everyone!

Hope you all had a lovely long weekend.
I have a couple of sea themed cards to share with you all, starting with this gorgeous seahorse.


Start by stamping the Crafty Individuals seahorse stamp on white card with versamark black ink and emboss with clear ultra fine embossing powder.
Cut the image down to size.
Colour the seahorse, shells and star fish using your preferred medium - I used spectrum noir tri-blend pens.
Sprinkle a small amount of Pretty gets gritty atlas powder onto a paint palette and add a drop of water. Paint the mixture onto the background with a paintbrush.
Use a heat gun to dry the background.

 Take a pre-folded 5x7 card blank and place your seahorse in the centre (without sticking it in place). Carefully draw around it. This will be your guide for stamping the border.
Stamp and emboss the lovely Crafty Individuals Shells border along the pencil lines. When stamping the border along the length of the card - stamp it central so you're left with an even gap at either end. 
Use one of the separate starfish from the same stamp set to fill in the gaps in the border.
Colour the shells and starfish.

Mount the seahorse topper onto some black card and mount onto the main card base. 

Thank you for joining me.

X_Dena_X


Saturday, 1 April 2023

Crafty individuals butterfly card

Hello Everyone!!

Thought I'd do a quick blog post on this card that I actually made during a Facebook live for Crafty Individuals. Depending on when you read this post you might still be able to catch it on the main Crafty Individuals Facebook page, but if not its super easy to make and you could just follow the step by step instructions below. 


Now you can either use a black pre folded  5x7 card blank or just use white. I made this one using a white card blank. I cut a piece of black card large enough to completely cover the white base.
Cut a slightly smaller piece of black card to use as your main topper. For this I used the Lynda Chapman super smooth black card.

Using a blending brush randomly apply a selection of oxide inks to the smaller piece of smooth black card. I used the following selection - Picked raspberry, scattered straw, Twisted citron, spiced marmalade, and wilted violet.

Stamp the gorgeous Crafty Individuals butterfly stamp using versamark ink and emboss with black embossing powder. 

For the next steps  I tend to work in opposite corners and sides to keep the card balanced and also recommend using a versamark inkpad as it will stay tacky for longer. This will hopefully give you chance to stamp all the different elements around the edge so you can emboss them all at the same time.
Start by stamping the negative stamp from the inky boarders set in opposite corners. Then stamp the bird and flower border stamps. Fill in any blank areas with the inky script background stamp.
Once all the elements have been stamped around the edges apply some black embossing powder and emboss with a heat gun. 

Stick the topper onto your black mount.

Stamp and emboss the butterfly on a separate piece of black card. 
Cut the butterfly out, but don't worry about cutting out the antennas.
Use perfect pearls to paint the butterfly. To do this I'd recommend placing a small of amount of perfect pearls on a paint palette or tile and use a watery brush to apply. 
Slightly curl the wings and stick in place with a silicone glue so the wings are slightly raised.

Thank you for visiting.

X_Dena_X


Crafty individuals seahorse card

 Hello from a very wet and windy Norfolk!

I'll be spending the next few weeks here in Norfolk, I do of course have my crafting essentials with me so will be able to continue making. 

I have several blog posts to edit but hopefully I'll have them all live very soon.


I had so much fun creating this card by stamping a collection of Crafty Individuals Stamps. 

Cut a piece of card to fit on a 5x7 card blank.
Sprinkle some Atlas Pretty gets gritty explosion powders onto your messy mat and spritz with water. Use the smooch technique to apply the ink to your card and dry with a heat gun.

Stamp the gorgeous crafty individuals seahorse  stamp in black and emboss with clear embossing powder.
Colour it in using a turquoise spectrum noir tri blend pen.
Use a white pen to lighten the eye.

Stamp the seahorse on a separate piece of card and cut it out to create a mask.
Place over your coloured seahorse, using a blending brush apply some violet ink around the edge of the seahorse to create a shadow effect.
(make sure you keep hold of the mask you created - you can use this on other projects)

Stamp and emboss the fish from the Dolphin stamp set.
Colour with spectrum noir tri blend pens. 

Stamp the lovely words from the seaside treasures elements stamps in black ink and emboss with clear embossing powder.

Use peacock feathers oxide ink to stamp the shells along the right hand side of the card.
Then randomly stamp some of the other shells and elements in peacock feathers. 
Stamp a few starfish in shaded lilac oxide ink.

Stamp the numbers '286' from the call of the sea elements set in shaded lilac.

Finally mount your card topper onto a pre-folded 5x7 card blank.

Most of the items used to create this card can be purchased from the Crafty Individuals website.

Thank you for visiting!!

X_Dena_X


Friday, 20 January 2023

Simple Love/Valentines Day card

Evening everyone.

Hope your all managing to stay warm - it's so cold here in London, I've been sitting here with my little heated pad and wrist warmers on.

Anyway, I'm a little behind with Valentines cards (as usual) but hoping to make a few different styles over the next few days starting with this one.


Stamp and emboss Crafty Individuals 'Singing Merrily' music stamp onto cream card. 
Cut it down to a square.


Cut a piece of black card just slightly bigger than the stamped image to create a mount.
Cut a much larger piece of cream card measuring approx - 11.5cm squared.


Using a versamark ink pad, stamp the Crafty Individuals script and emboss with red embossing powder in opposite corners.
I didn't bother mounting the stamp on an acrylic block, instead I just held onto it carefully applying pressure roughly where I wanted the script. 


Using a VersaMark ink pad, drag the ink along the edge and emboss with a gold glitter embossing powder. 


Tie a piece of Jute string around the piece of card and finish with a small bow. 


Mount onto a piece of red card. 


Die Cut some funky hearts from the Tonic Beautiful Hearts set. 
I'd recommend die cutting them in red but as I don't have much red card at the moment and need to go craft shopping I just cut them out of white card.
As you can see I cut way more hearts than I actually needed for this one card but I do plan on using them on other cards.


I then coloured the hearts with Candied apple distress ink. Obviously if you used red card you wont need to do that.
I decided to add some depth so applied some aged Mahogany around the edges.


Drag the VersaMark ink pad around the edges of the heart and emboss with black embossing powder.


As you can see the black embossed lines around the hearts aren't perfect and there are specs of black dotted on the inside. This was actually intentional, I wanted them to look slightly rustic. 


Mount the background piece onto a pre-folded 6x6 card blank.


Stick the music topper in place using a silicone glue so it's slightly raised.


Finally stick the hearts in place.


I haven't stuck any words on this card so in theory it could be used for any romantic occasion.

Thanks for joining me.

X_Dena_X

Shopping List

Tonic - Beautiful Hearts
White card
Cream card
Red card
6x6 prefolded kraft card
Black VersaFine Clair ink
VersaMark ink pad
Wow ultrafine embossing powder
Black embossing powder
Red embossing powder
Gold glitter embossing powder
Silicone glue
Glue
Jute string