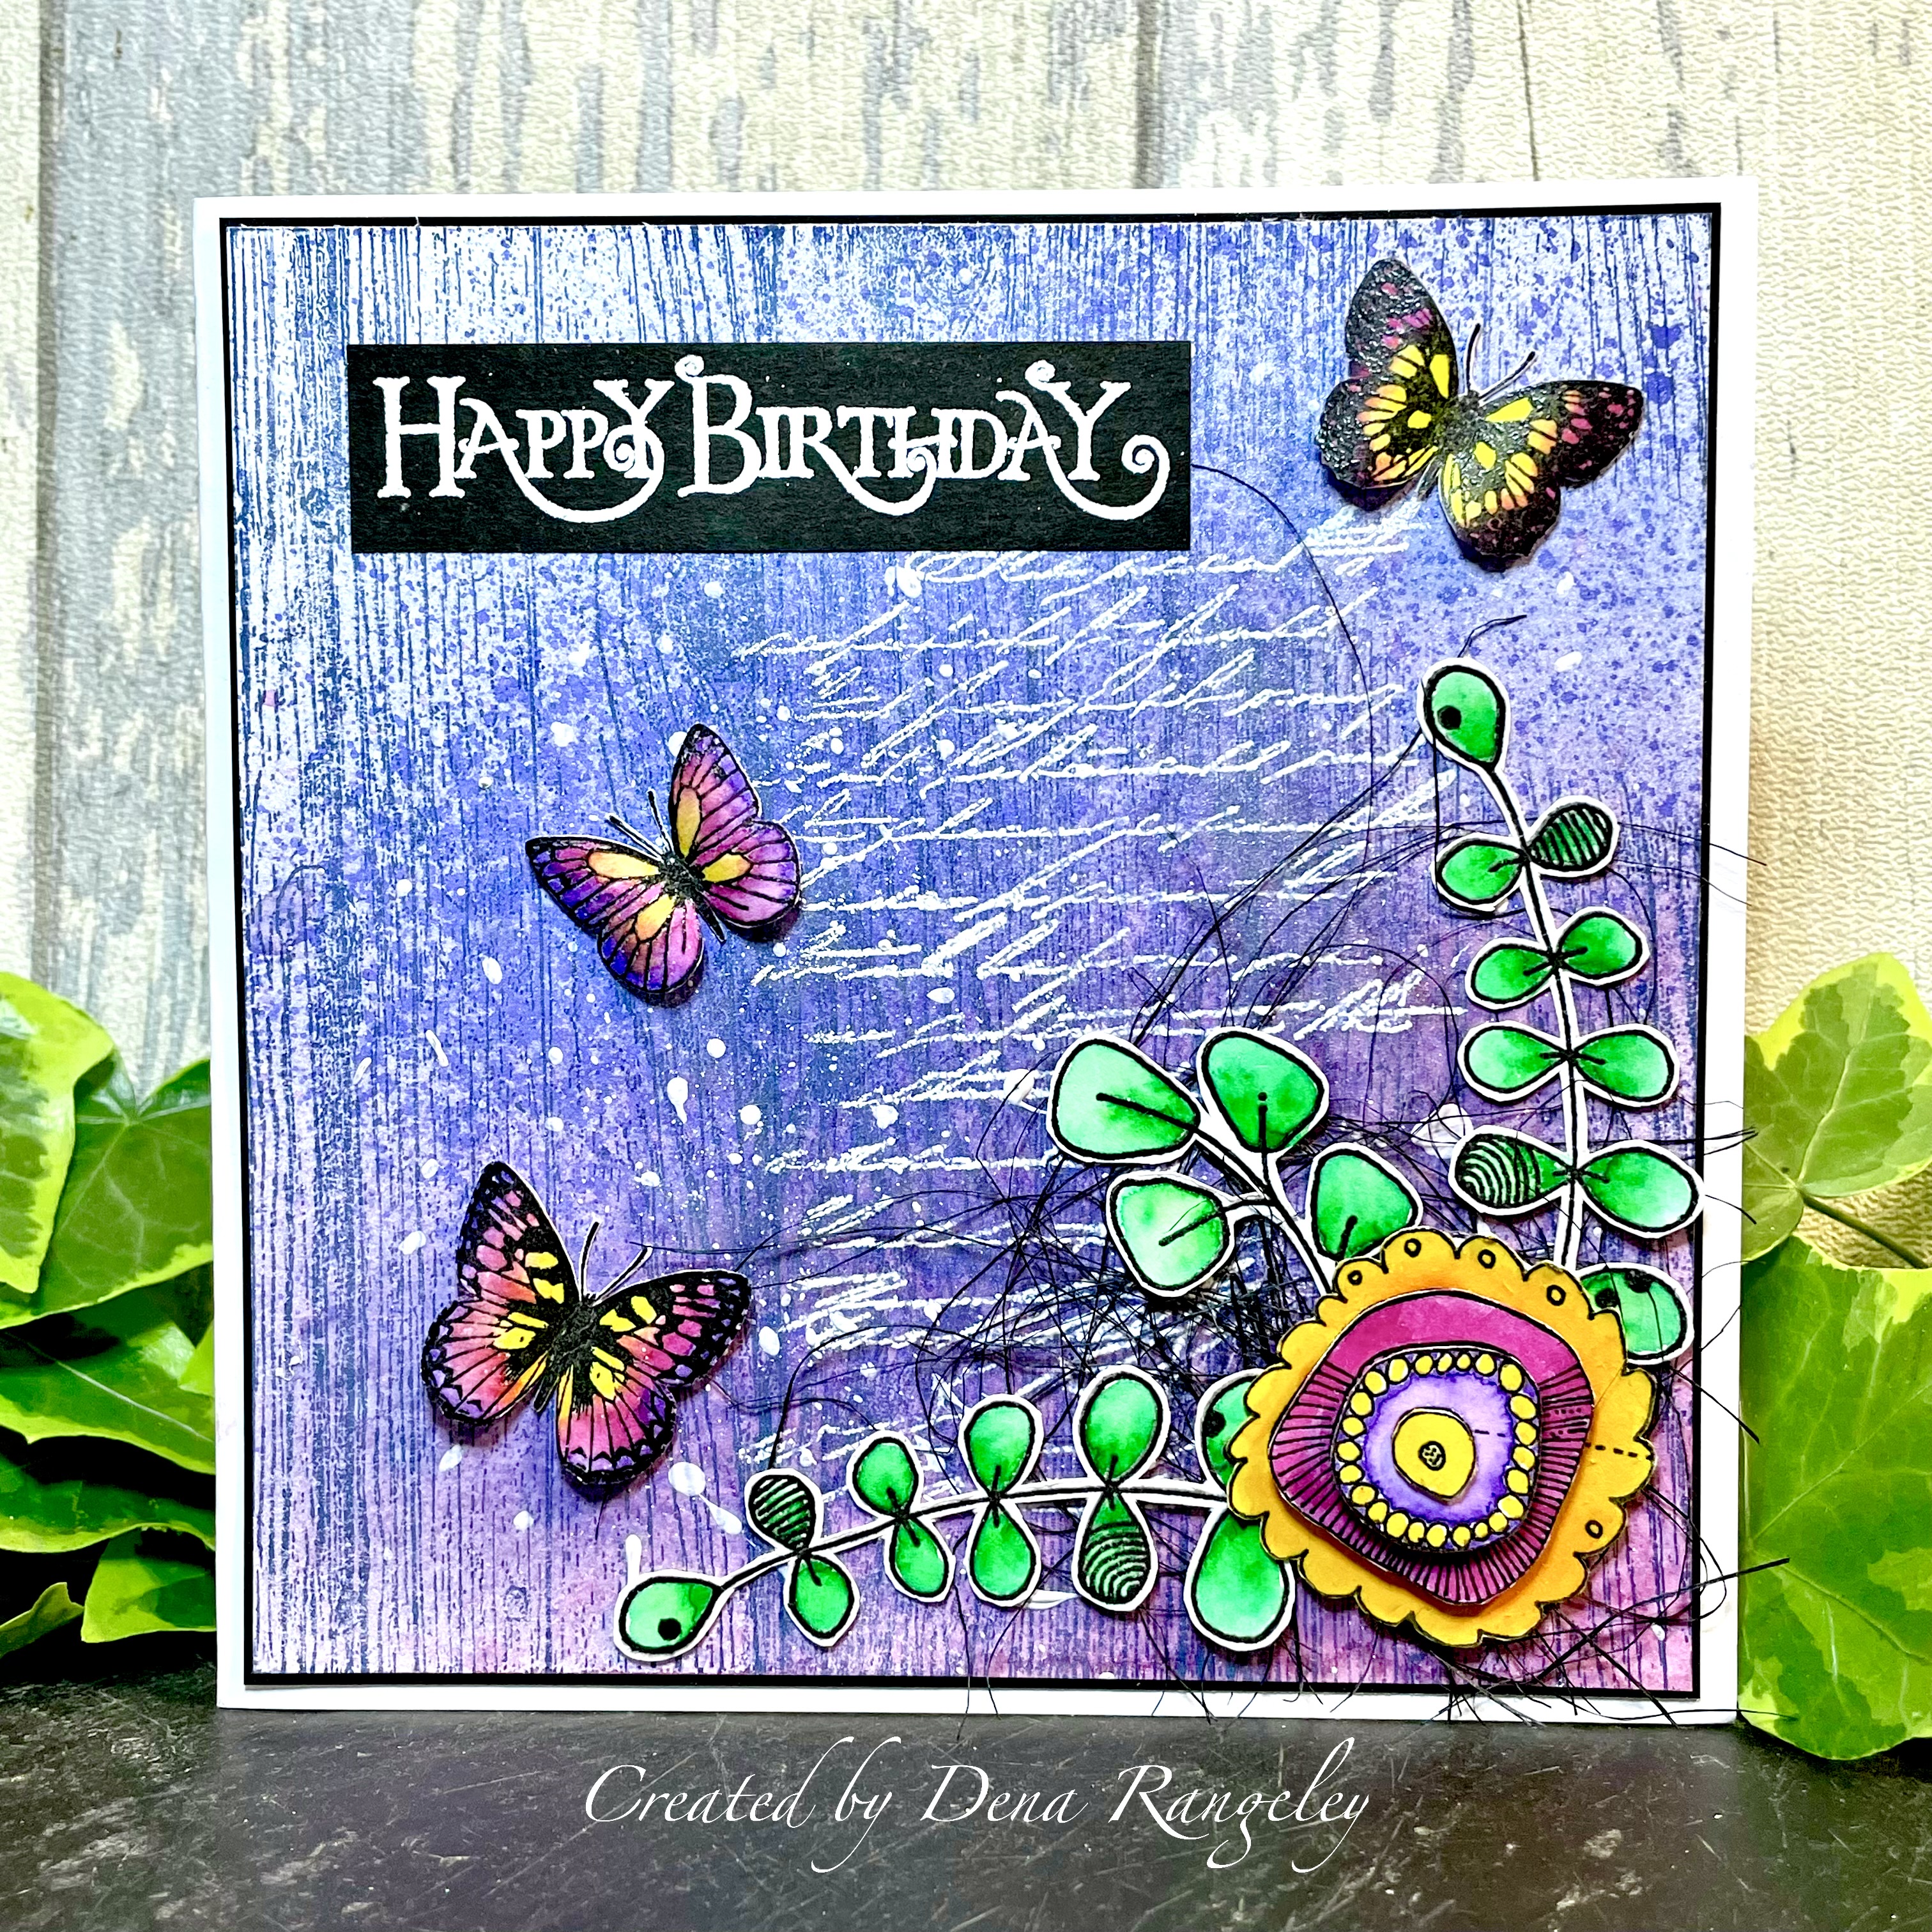
Hi Everyone!!
I made this card yesterday and couldn't resist using the new woodgrain background stamp from Crafty Individuals. This has to be one of my favourite background stamps - It's so versatile and just goes so well with so many stamps.
Start by cutting a piece of white card to fit on a 7x7 card blank.
Using a blending brush, colour the background with tea dye distress ink.
Stamp the
Woodgrain background along one side. You'll need to stamp it again on the bottom half as the stamp won't be big enough to cover the whole piece of card. I used a piece of thin copier paper to cover the stamped image then stamped it a second time. If you feel there is a definite line along the join use a
rubber tip tool to pick up some brown ink and blend the lines into each other until your happy with the overall look.
Randomly stamp some more of the woodgrain stamp on the right hand side the card. Then stamp part of the
Inky Script background in the empty spaces.
Darken the edges with your blending brush and brushed corduroy distress ink. Add some faded blue distress ink in places.
Using a scoring board score along the main wooden planks to add some texture.
Flip the card over and score along all the edges of the card to create a beveled edge.
Mount the background onto black card then onto your pre-folded 7x7 card blank.
Stamp the
A is for apple bird image in black and emboss with clear embossing powder.
Cut the image down to size.
Stamp and emboss the branches from the
Be wild elements stamp set and some foliage around the bottom.
Hold a piece of scrap paper where you'd like your horizon line and lightly add some faded jeans distress ink to the top section. I didn't bother masking the image on this occasion as I coloured with colouring pencils. Cover the skyline with scrap paper and lightly add some peeled paint distress ink to the grassy area.
Colour the image with your desired medium - I used the Castle Arts Gold pencil set. Using a green pencil add some shading under the log and apple.
Use a ruler add a thin border around the edge of card using a black sharpie.
Cut a piece of brown card just slightly larger than your topper. Add some Rose gold gilding polish from creative expressions around the edges.
Finally mount onto a piece of black card then onto your main card.
Thank you for joining me.
X - Dena - X