Good Afternoon All!!
Goodness it's been such a long time since my last post again!!! I think the past year has been a complete whirlwind and I just haven't managed as many videos and blog posts as I was hoping for. So lots of changes again.... As some of you know I've joined a couple of new design teams, one of them being Thats Crafty.
That's Crafty is a fab craft store that sells not only their own brand of stamps, stencils, paints, MDF kits etc. But also stocks a huge range of other brands and crafting essentials. This is great as it means I get to play with so many different crafty products.
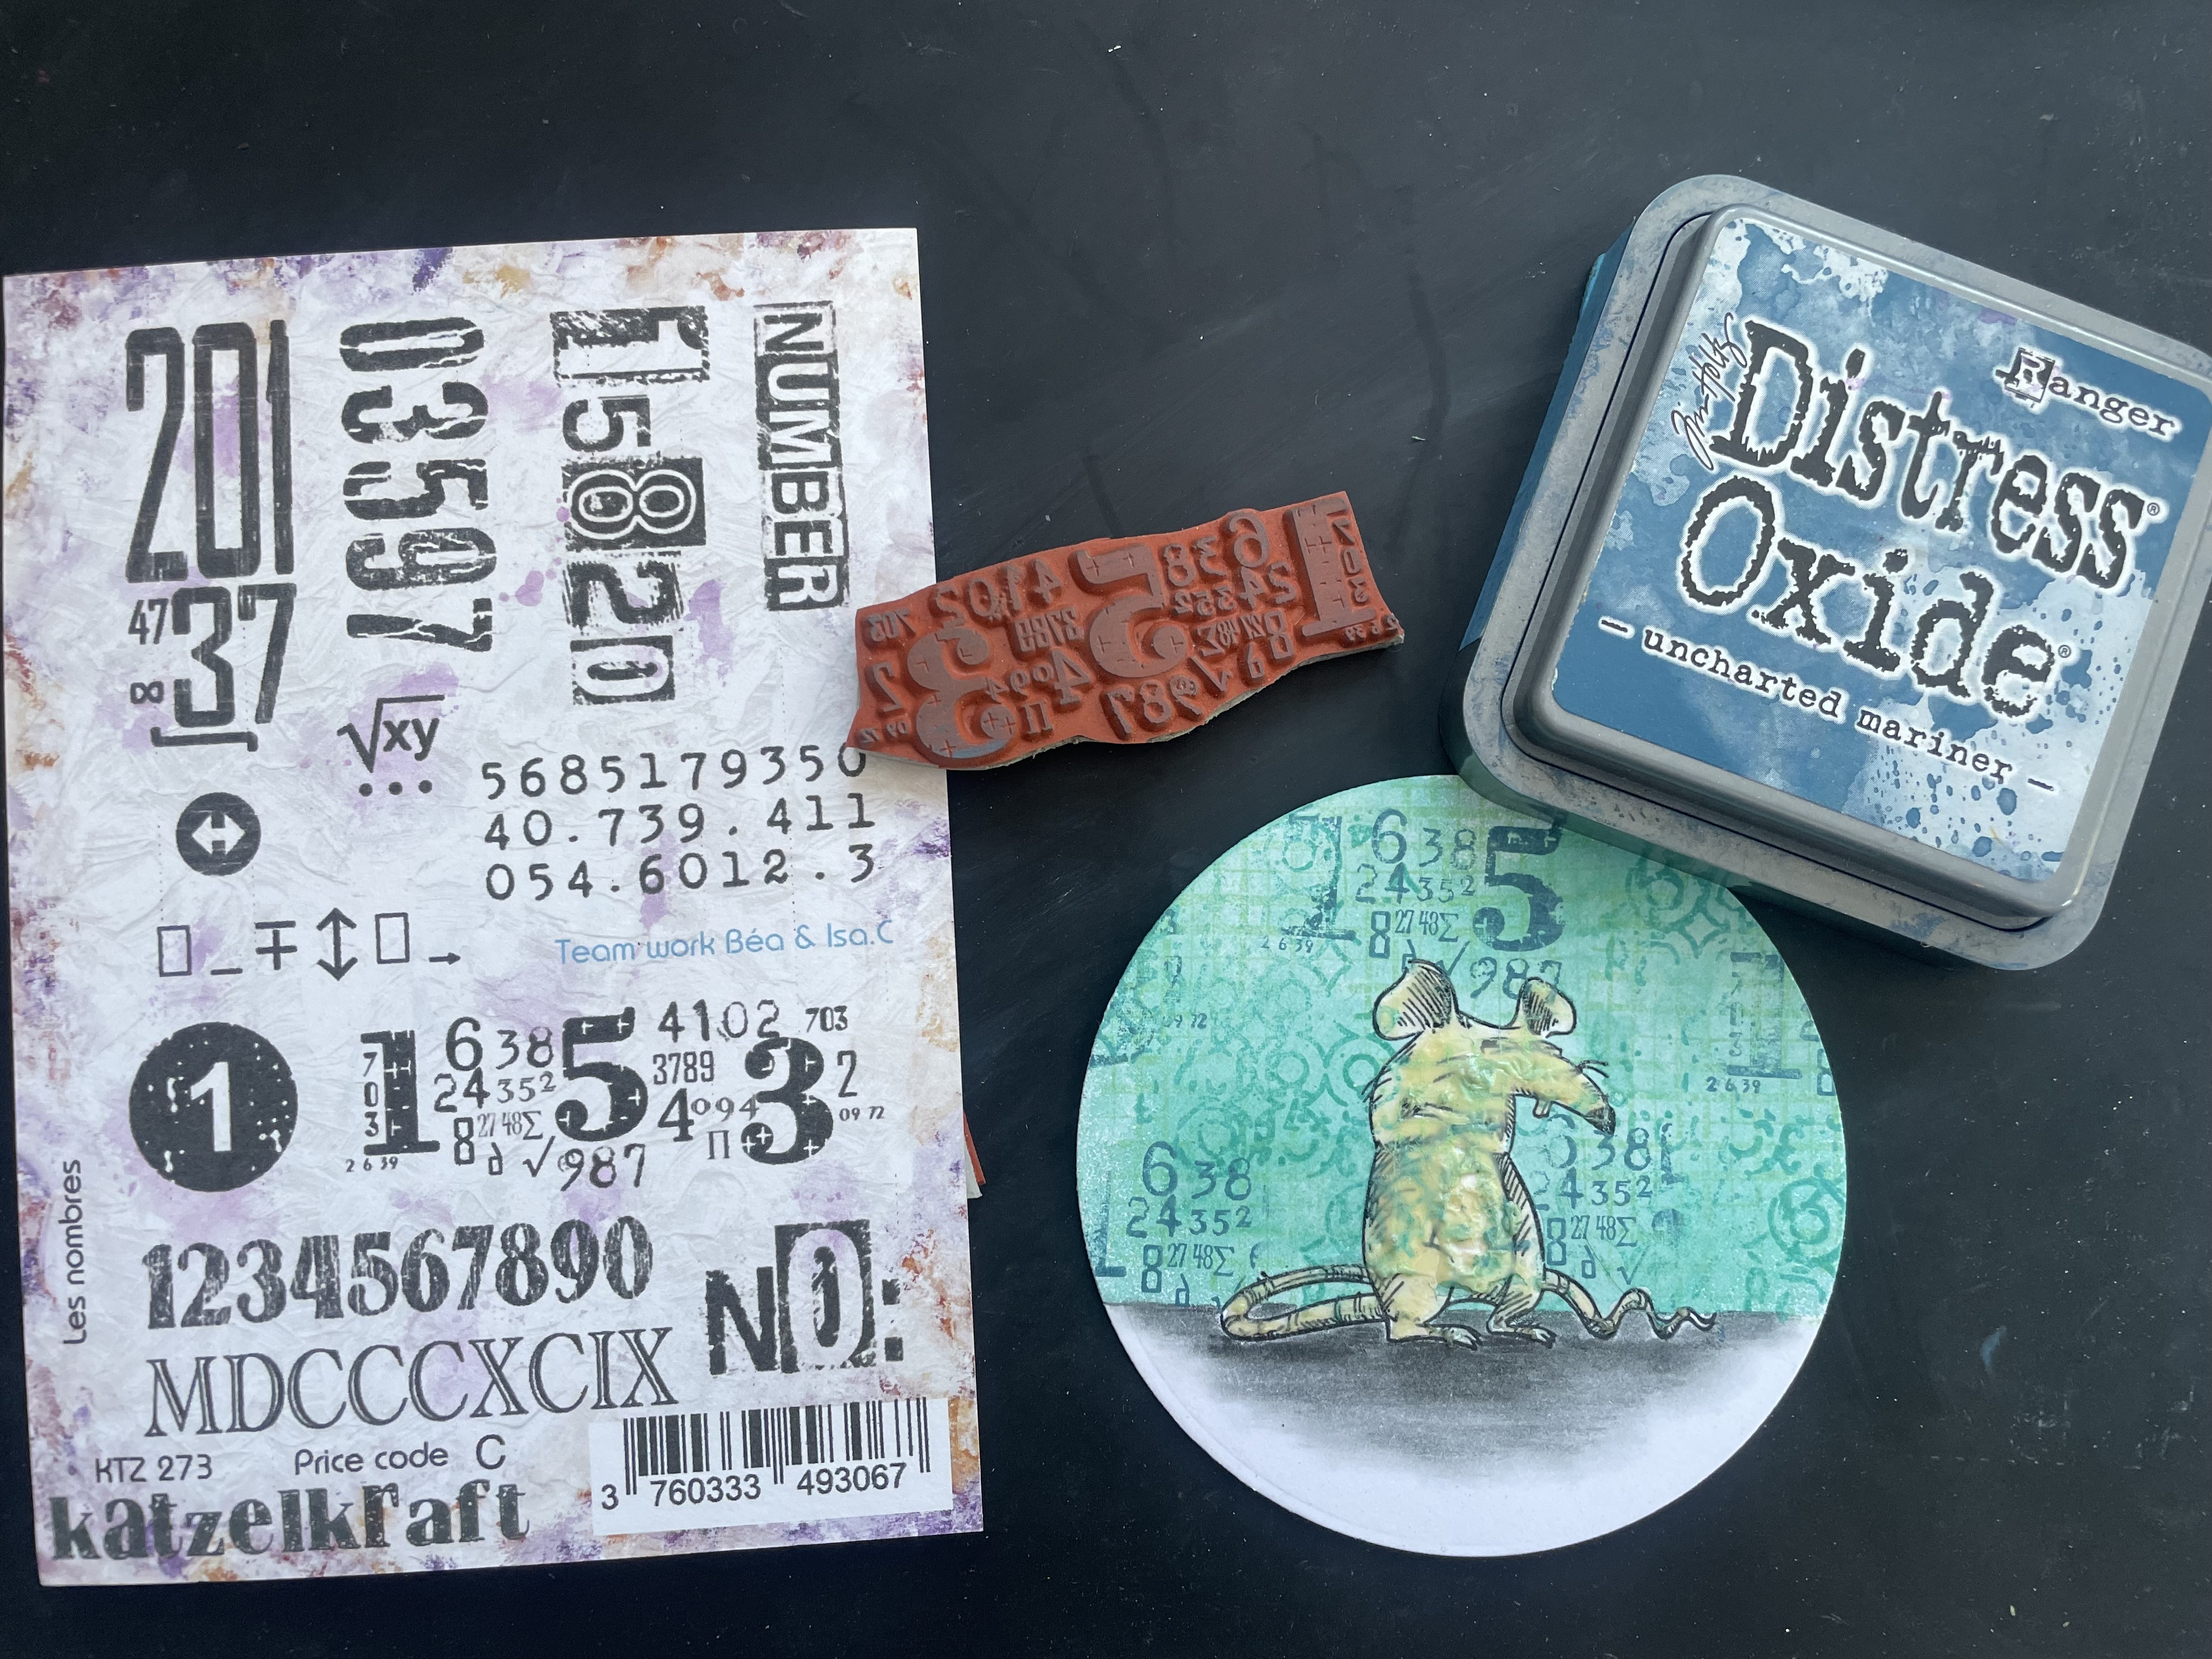
I usually make a weekly project to share and this is todays project using mainly Katzelkraft stamps.
Unfortunately Katzelkraft no longer make stamps, which I'm gutted about as I love them!! Anyway you can still purchase some of the stamps from That's Crafty so go grab them quick while they're still available.
Now I'm afraid I didn't take photos of every step so hopefully I can just talk you through it.
Die cut a circle out of white card.
Stamp the rat in black ink and apply masking gel.
Use a black castle arts pencil to colour the ground.
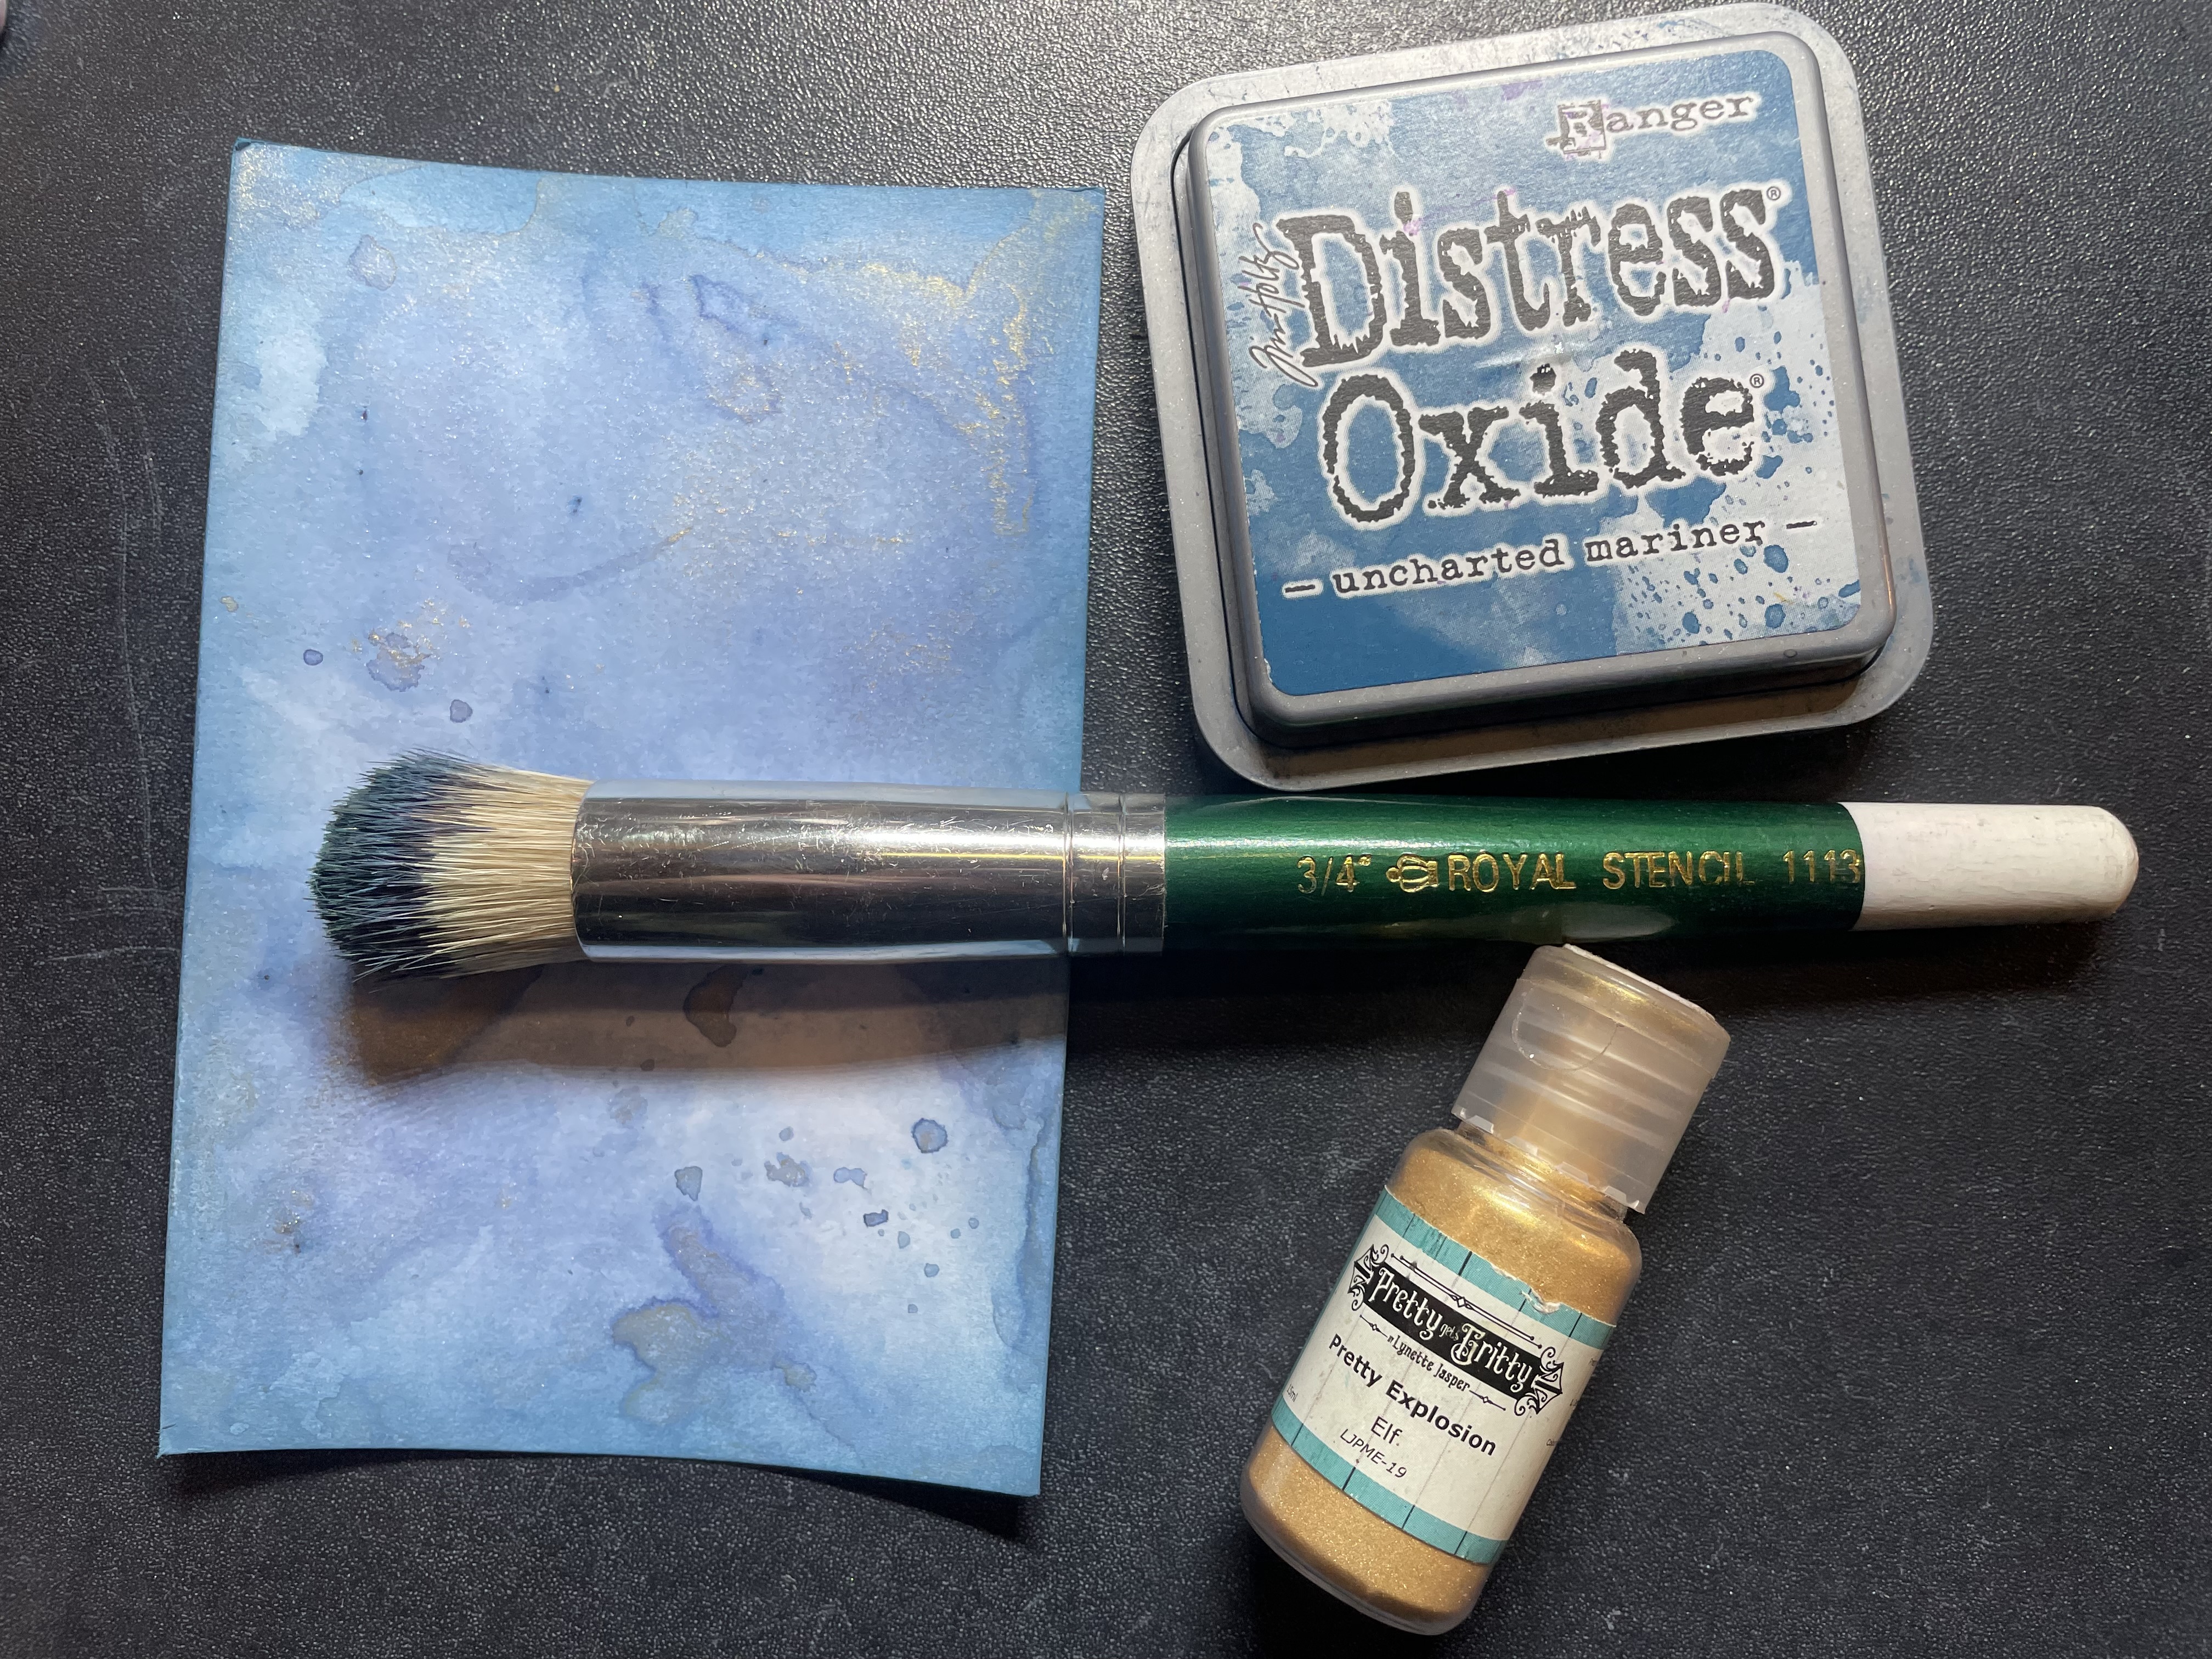
Cover the black area with scrap paper and spray the background with That's Crafts matte spray.
Stamp some textures from the hidden grove stamperia and the Arden Makers Marks set in cracked pistachio and Peacock feathers.
Randomly stamp a few numbers from the Katzelkraft Les numbers set in uncharted mariner.
Use a glue eraser to remove the masking gel.
Colour the rat with Castle Arts pencils.
Use a paper blending stump and blending solution to smooth and blend the colours in. This process is great for blending colours into white areas and it gets rid of those pencil lines.
Mount the circle onto a slightly larger black layer.
Cut a piece of white card measuring approx 11.5cm square and mount onto a piece of black card.
Cut a piece of black card 5.5cm x 11.5cm.
Stamp a mixture of numbers in VersaMark ink and emboss with white embossing powder. Sprinkle some white embossing powder in random areas and heat from behind. You don't actually need to stamp the entire piece as most of it will be covered, I just got a little carried away!!
Mount the black strip down the centre of the white card then mount the topper.
Write the sentiment on a strip of white card and mount onto black card. I tried to write the sentiment very random and abit funky. Secure in place.
Cut out some strips of black card. Snip a triangle out of one end and secure in opposite corners.
Die cut the largest square from the crealies nesting dies in white and mount onto black card.
Finally secure all the pieces onto a 6x6 card blank.
Shopping list
Glue
Castle Arts pencils
Paper blending stump
Blending solution
Black fine liner pen
White card
Black card
6x6 card blank
Thank you for visiting and hopefully I'll be back soon with another post!!!
Dena xx