Hi Everyone!
Hope your all keeping well.
I’m so excited to finally be able to share these samples with you all featuring the new batch of stamps from Crafty individuals.
These are such great stamps - you can do so much with them.
If you'd like to purchase them you can find them
here.
I'm going to start by sharing my favourite card.
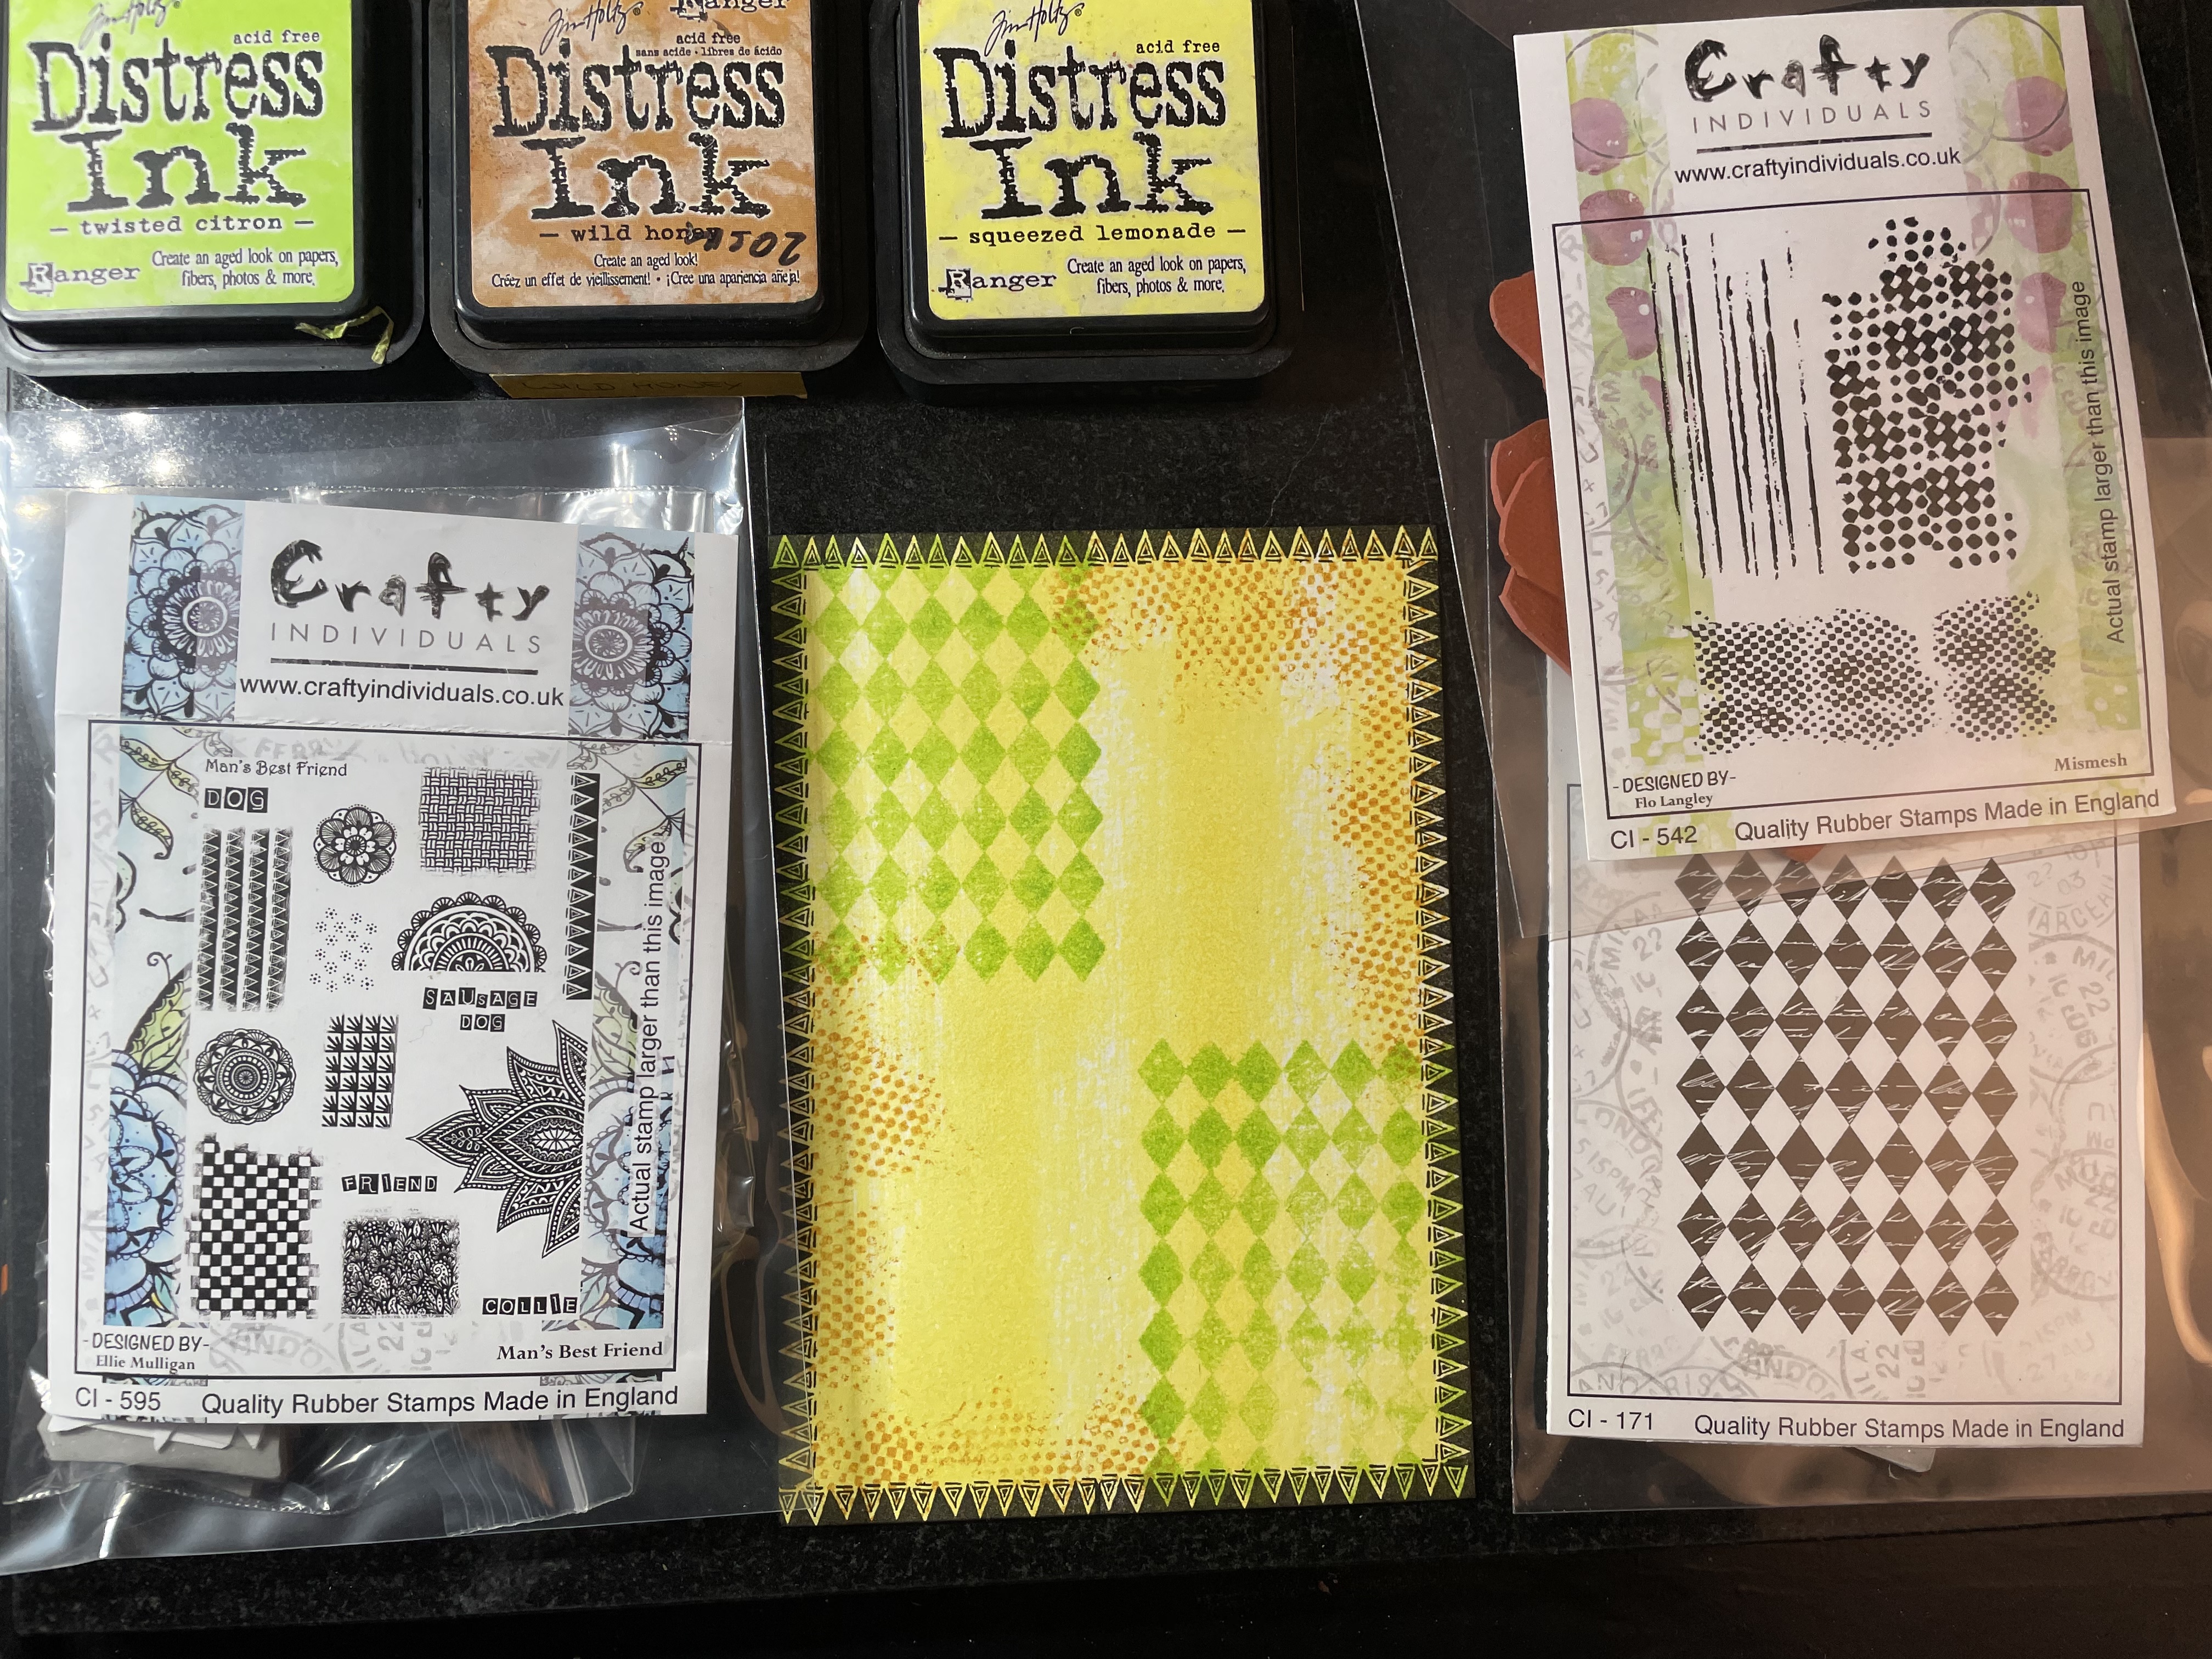
I made one by creating an inky background with distress inks and oxides and stamped a selection of crafty individuals texture stamps -
CI-540 and
CI-542. These texture stamps are a must have - especially if you like creating inky backgrounds.
Draw a border around the edge and then add some foil.
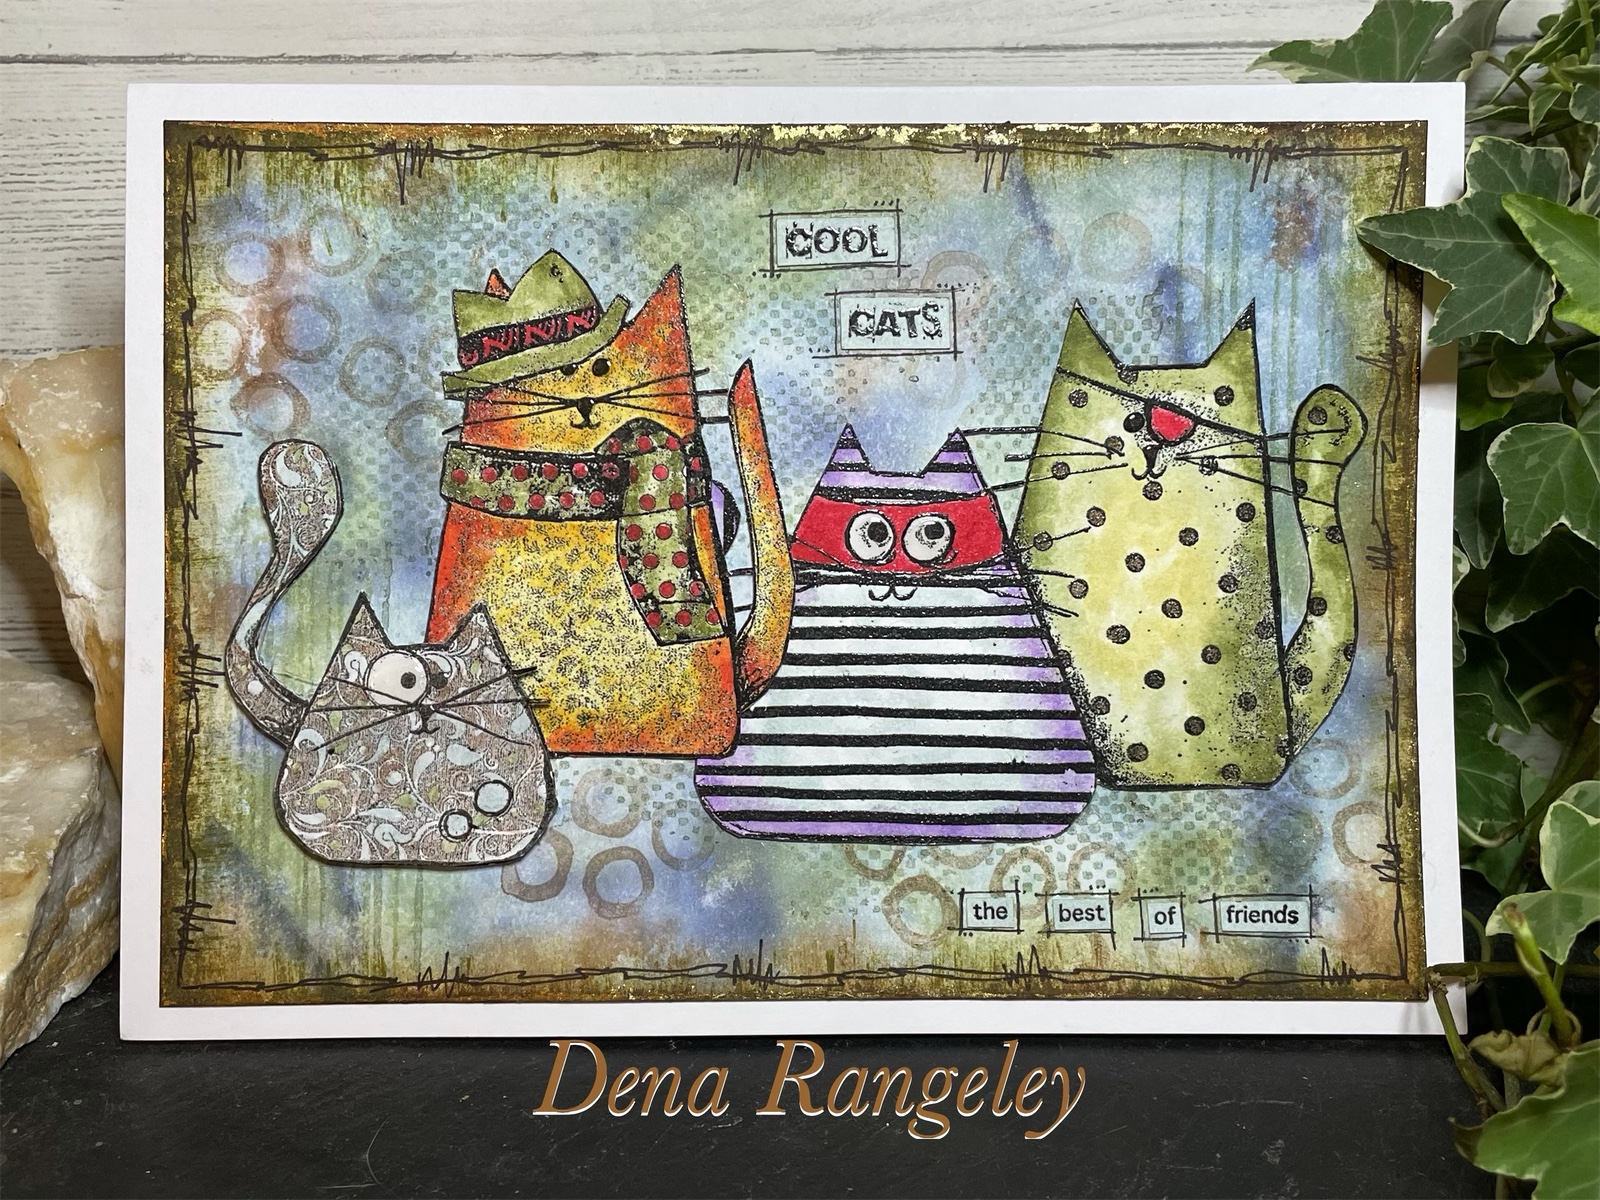
I stamped the cats from CI-571 and CI-568, then cut them out and coloured them in. Add some glossy accents to the eyes.
Stamp the wording from CI-570. Roughly cut them out, stick them down and draw some sketchy lines around them.
Trilby cats card.
I had so much fun playing with different mediums on this card.
I used alcohol inks on Crafty Individuals
white glossy card. Stamped CI-540 in black and embossed. Then stamped with clear versa fine ink and applied gold perfect pearls.
Stamp and emboss the trilby cats on your desired card. Tear along the edges and colour - for this I used Arteza watercolour pens and distress inks on the newspaper.
Stamp and emboss the cats again and cut out the small cat, hats and scarf. Colour them in and stick them down with silicone glue to give a raised effect.
Trilby cat coaster
I created this in a similar way to the card but just added some gold foil to the edge.
These acrylic coasters are great as you can make them identical to the card, which makes a great little matching gift.
Hand burned trilby cats coaster.
This was created by stamping the image on card and roughly tracing and transferring it onto a wooden coaster blank. I then burnt it into the wood with my Antex fire writer pyrography machine.
This was then coated with oil to protect it.

Burglar cats card
The background was created using distress inks and
CI-540. Draw a random border around the edge.
Stamp and emboss the burglar cats and colour with watercolour pens. Tear the card around the newspaper and carefully cut around the ears. Mount onto some torn black card.
Stamp and emboss the wording from CI-570. Colour with distress ink and cut them out.
I then added some googley eyes to the cats.
Seagulls
I created an inky background using distress inks and again randomly stamped the CI texture stamps.
Stamp the barbed wire from
CI-361 in the corners. Mount the background on black card and stick to your card blank.
Stamp and emboss the seagulls stamp. I then coloured these with the spectrum noir tri colour pens. This was my first time using them and I have to say they are totally fab - they blend so well!!
I stamped the image again and fussy cut the hat and scarves, which was then stuck with silicone glue to add some dimension to the image.
Colour the edges with distress inks then stamp the barbed wire around all four edges. This was supposed to be stamped straight , however I had a little accident and dropped the stamp so went with it and stamped them all wonky. I rather like the effect! I then mounted onto black card stuck it all down adding another googley eye.
Luigi the Llama card
For this card I used alcohol inks on the crafty individuals script background paper and applied foil around the edge.
Stamp and emboss the llama. Fussy cut it and colour - for this I used watercolour pens.
Stamp the image again and fussy cut the presents and scarf.
Take a piece of card just big enough for the llama to be mounted on, tear along the edges, colour with distress ink and add some foil around the edge.
Stick all the components down. I used silicone glue to stick the scarf and presents down to add some dimension.
The next batch of stamps were designed by Alice palace.
Copper etched bunnies plaque.
I made this by stamping CI-372 and CI-495 in stazon ink onto a sheet of copper and placed in ferric chloride which burns away the particles of copper leaving a raised image.
After a polish this was mounted onto a painted black mdf blank.
Crowned bunnies card.
I created this card by stamping the bunnies. I created a mask by stamping the image on adhesive masking sheet and carefully cutting them out. Stick them over your main stamped image and start creating a background by masking the moon and grass area and inking the sky. Then ink your grassy area.
Remove the masks and colour the bunnies.
I then stamped with CI-495 to create a grassy look and the tree from CI-361 around the edges.
Finally I lightly stamped the tree from CI-209 and added a couple of birds.
Oh I also added some foil along the edging.
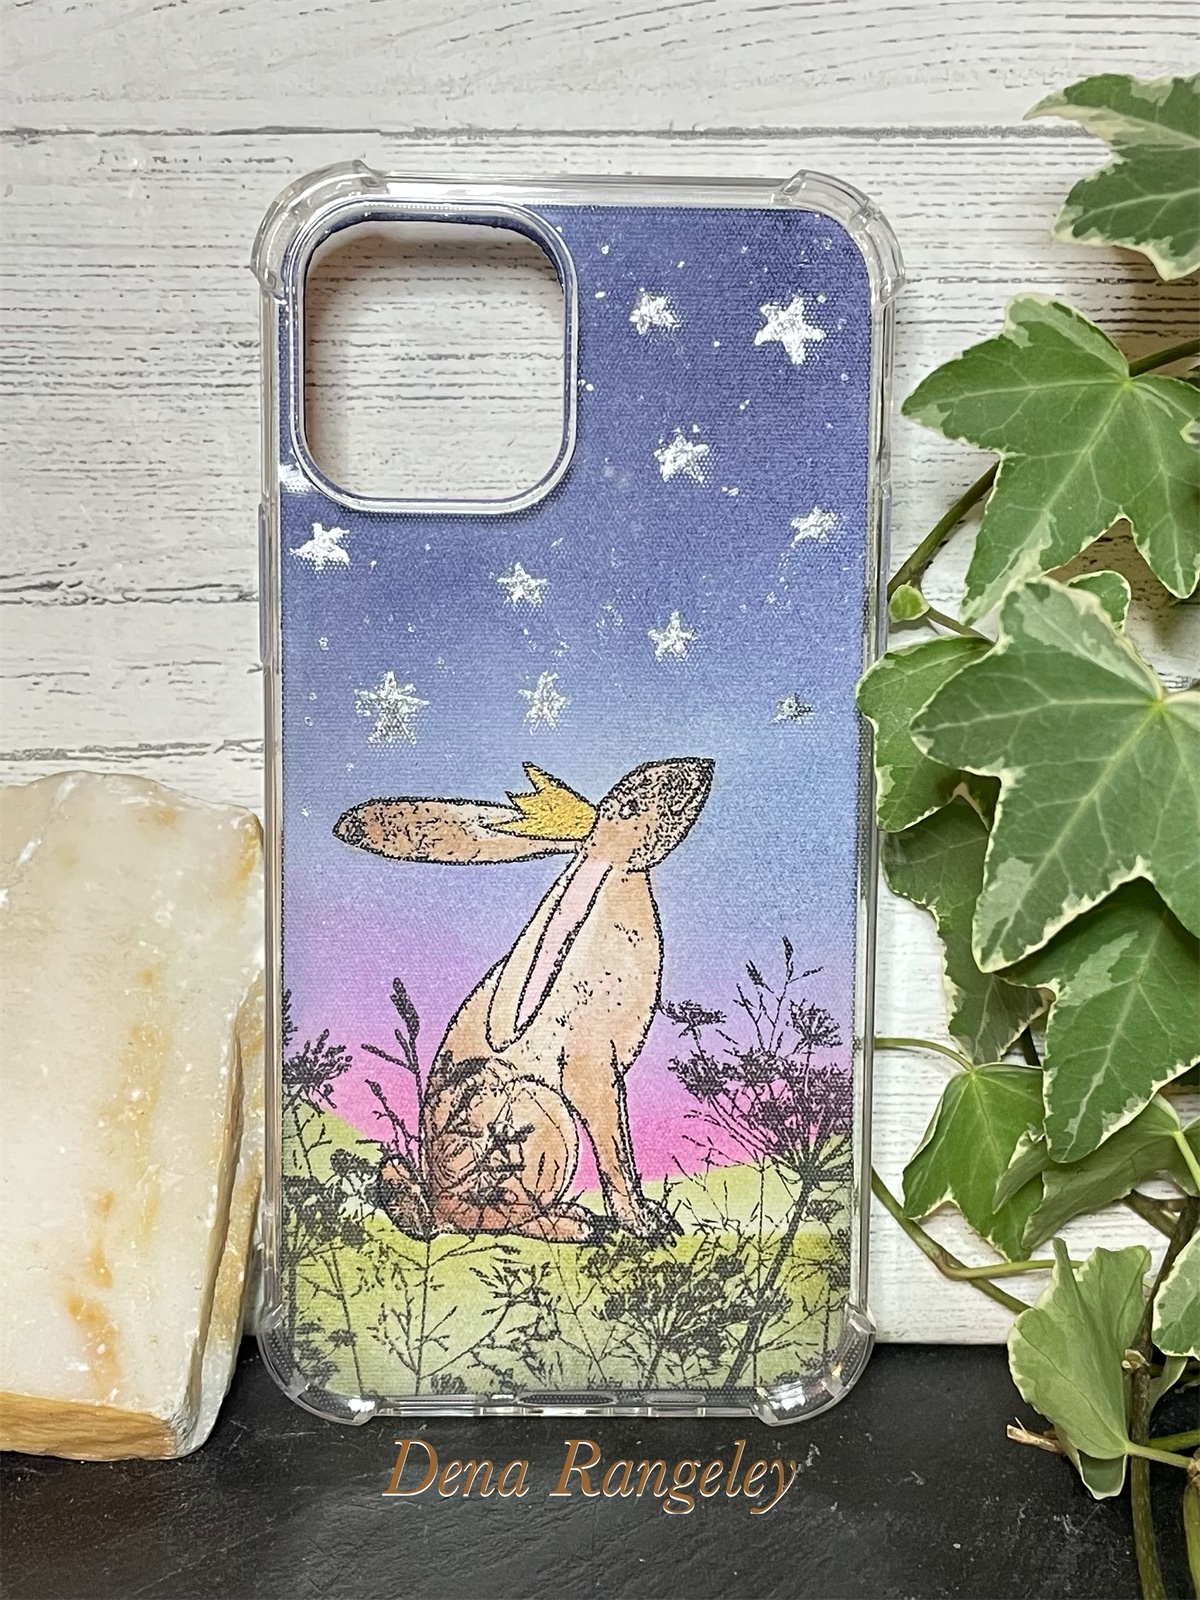
Crowned bunnies phone case insert.
I bought a cheap clear phone case - drew around it and cut to size so it would fit nicely inside the case.
I decorated it the same way as the card but only stamped one bunny.
I then drew the stars with a quickie glue pen and applied some silver stars.
Decorated bunny rock
Decorated rocks are really popular at the moment. I thought I’d decorate one with these gorgeous bunnies.
I started by painting the rock white and leaving it to dry.
I stamped and embossed the bunnies on some white tissue paper along with CI-495.
I then coloured with promarkers.
Once the rock had dried I applied the tissue paper with modge podge
My Favourite place is by your side.
For this I used one of the crafty individuals background papers. I applied some gold foil around the edge and mounted onto a pre-folded Kraft card blank. Using the heart stencil from that’s crafty (from the crafty individuals website) I inked a few random hearts in pink.
I cut a strip of Kraft card and attached some lace ribbon.
Stamp and emboss the bunnies then colour and cut them out.
I then stamped the words from CI-373, cut them out and colour with distress inks.
Jolly duck card
For this card I created an inky background with distress oxides. Randomly stamp some stars from CI-468. I then stamped the words from the same set “live life to the full” and “stand out from the crowd” - coloured them and once stuck down added some sketchy lines around them.
I then stamped the jolly duck, cut him out and coloured with watercolour pens.
Dancing jolly ducks
As I’m sure you can guess I created an inky background with distress inks. I also had a play with some bubble wrap by inking it with distress inks and apply to the background. I then stamped a few random stars.
Stamp and emboss the duck three times. I then cut the duck out and coloured with watercolour pens. Cut the legs off carefully and position them at different angles as you stick them down to make it look like their dancing.
I then stamped CI-258 and cut a few random words out.
By your side
I really love this stamp set. I stamped the ducks on a square piece of card leaving room for the words - which I stamped and cut out. Using watercolour pens I created the sky and grass scene.
This was then mounted onto some CI background paper. The flowers were then cut from another background paper and stuck down with silicone glue to add some dimension.
I finished off by applying some foil to the edges.
By your side
This was really quick card!! I mounted some CI background paper onto a card blank.
Cut a piece of card the same width as the background paper and tear the top and bottom making sure you have enough space to stamp the ducks.
Stamp and emboss the ducks and wording.
Create a mask for the ducks and ink the background with distress inks.
Using versafine ink stamp a few stars and apply some perfect pearls over them. It’s been a while since using perfect pearls but I’ve used them on a few of these samples. I’d forgotten how much I love them - they create a lovely subtle shimmer. Stamp the texture stamp.
I then tied some brown string around this section of card before sticking down. Then tied some string around the button and stuck it down with silicone glue.
Thank you for joining me.
X - Dena -X