Search This Blog

Tuesday, 20 June 2023

Happy Fathers Day - dog card

Hello!!!

I have this very quick card to share with you today. As you can see this is the card I made for my son to give my partner/his step Dad for Father's Day. 
You could still do something very similar and just change the sentiment.


I started off by arranging some words on the computer, I used Word Art (Microsoft Word) to insert this hollow, black outlined sentiment and printed it off. You could obviously use any sentiment.

Cut the card down to fit on a pre-folded 5x7 card blank. For this card instead of using a standard card blank where the fold would normally be along the longest part of the card (in this case along the top) I decided to make my own blank to have the fold along the side. To do this you will need an A2 size piece of card.
Stamp the lovely quirky dogs in black ink and emboss with clear embossing powder.
Colour the dogs and the sentiment in coordinating colours. I used castle arts gold pencils. 
Using a small brick stencil lightly apply some brown distress ink in background with a blending brush.
Use a piece of scrap paper to mask off the top part of the card and apply some grey ink to make it look like the road.
Dab some distress inks (that coordinates with the colours used on the sentiment) onto a tile/messy mat and using a watery fan brush add a few inky splatters around the text to make it look as if its been spray painted on. 

Add some glossy accents to the dogs eyes, nose and dog tag.
Using a black fine liner pen add a few dashes to make it look like the dogs are speeding past.

Finally stick the topper onto your card blank. 

Thank you so much for joining me, I'll be back soon with some more makes. I currently have several projects sitting in the drafts ready to be edited. 

X - Dena - X


Bee Crafty Bee card

Morning All!!

I made this Bee card over the weekend and thought I'd share it with you all. I've had my eye on this stamp set for some time now and finally gave in and bought it and now I can't seem to put it down.


Cut a piece of card to fit on a 7x7 card blank.

For the next step I actually used Brushos. I normally get really frustrated with them as I can never achieve the outcome I imaged. I started by spritzing the card with water and sprinkled a small amount of yellow ocre Brushos in one corner. I then added another mist of water, a little bit more yellow and dabbed some of ink off with a piece of kitchen roll. I kept doing this until I was happy with the overall look. The key to using these is LESS is most defiantly more!!

Spray a fine coating of Tim Holtz Bronze Mica spray over the card. 

Use spiced marmalade oxide ink to stamp the lovely border from the Bee Mine set along 2 edges. Then randomly stamp the hollow and solid honeycomb in the background leaving the top right corner blank. 
Stamp a few of the hollow honeycomb in black ink.
Using a fine liner black pen (I used a Micron pen) draw a little doodled border around the edges of the two stamped sides. 
This main card topper can now be stuck onto your pre-folded 7x7 card blank.

Die cut a few different sized hexagons and using a blending brush colour with distress oxides. 
Stamp the solid honeycomb on two of the hexagons.
Stamp a small section of the border stamp on another two of the hexagons, then draw the same doodled border around the edges.
Colour one of the smaller hexagons with Rose gold gilding polish. 
Stamp the largest bee on the final hexagon shape. You only need to make sure the bees antennas are completely stamped.
Stick the hexagons in place. I used pinflair glue to raise a few of them to add a little dimension. 

Stamp the words 'BeeYouTeeFul' in the top right corner, then stamp the two smaller bees. Don't worry about colouring them. These bees will be layered with another piece of card. Stamping them first means you wont need to cut the antennas out in the next step.

On a separate piece of card stamp and emboss all three bees. Colour with your desired medium, I used spectrum noir tri-blend pens. Then cut them out. Don't worry about the antenna - they can be cut off. Snip into the wings slightly and use a pencil or paintbrush to curl the wings.

Finally stick the Bees in place, again using pinflair glue to raise the wings.

If you'd like to purchase this lovely Bee set pop over to the Bee Crafty website.

Thanks for joining me.

X - Dena - X


Sunday, 18 June 2023

Crafty Individuals June launch

Hello Everyone!!

Yet again I've been neglecting my blog. We've got rather allot going on at the moment as we're hoping to move very soon so have been busy sorting the house out as well as creating design team pieces and trying to keep my little shop going. I will try to post every now and again but have several posts ready to be edited that I hope to publish very soon.

Anyway enough about that, did you manage to catch the latest launch of Crafty Individuals stamps on create and craft at the beginning of June? They released a fabulous collection of 'favourite stamps' that has been shrunk down into a 'mini' collection. So, if your into making ATCs or like to create smaller pieces then this collection is definitely for you. You'll also find a few new Christmas designs drawn by the very talented Sharen Bates. 

Below is a list of stamps that was in this launch so do pop along to the Crafty Individuals website and check them out!!!

CI-627 - Cat and Dog
CI-629 - Zebra and Giraffe
CI-628 - Hare, seagull, butterfly and swirls
CI-436 - Inky Script
CI-284 - Life's a beach
CI-573 - Counting down background stamp
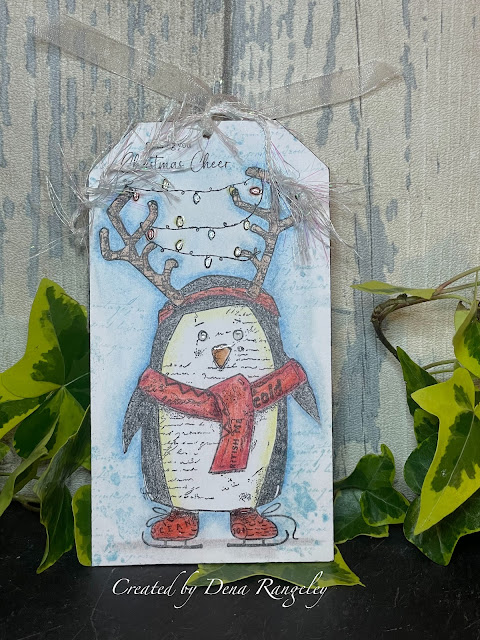
CI-547 - Pablo penguin
CI-567 - Luigi the llama
CI-456 - Robin
CI-630 - Christmas Arthur car
CI-631 - Christmas tree 

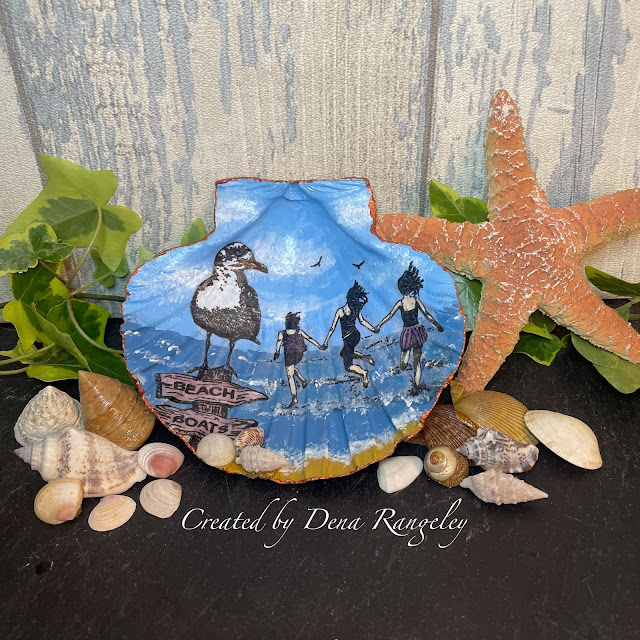
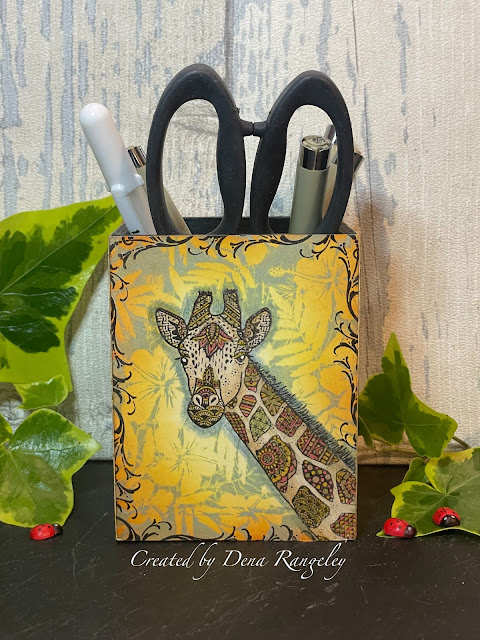
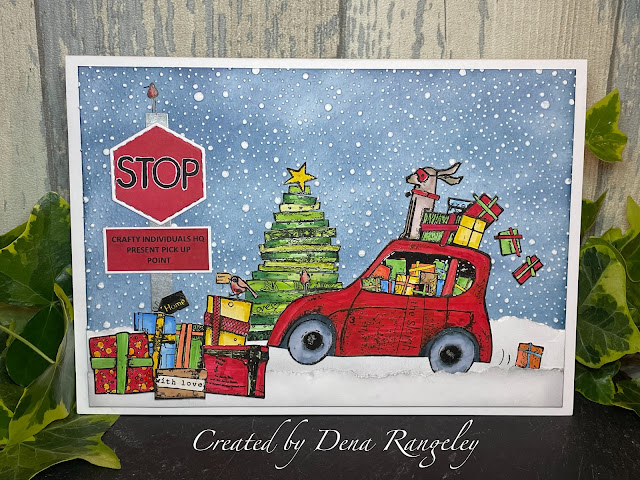
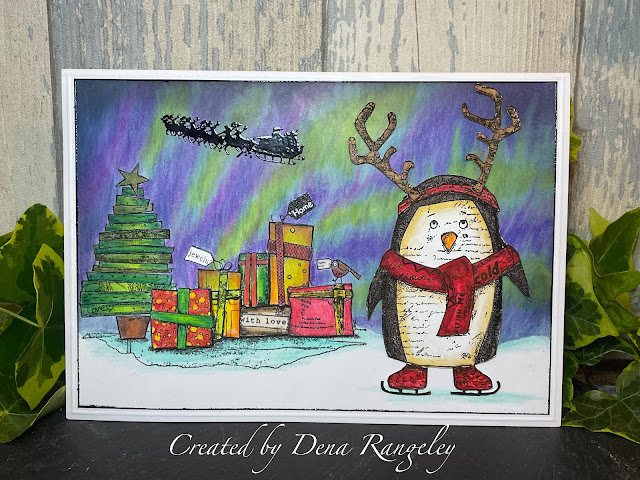
Here are a few sample I made for the show.


Thank you for visiting 

X - Dena - X